

If you have just picked up your S22, S22 Plus or S22 Ultra - here are the first 6 things or 6 tweaks I would make, out of the box, to my S22 phone.
First up, it’s going to be the display settings, so let’s go into Settings, display, and you’ll want to check these settings.
Adaptive Brightness - enabled.
Motion Smoothness, make sure that’s set to Adaptive.
Screen Mode - Vivid.
Edge Panels - enabled
Navigation Bar - we’re going to set that to Swipe Gestures because that gives us back space on the bottom of the screen rather than permanently having buttons down there.
If you have the S22 Ultra, you’ll want to go into the screen resolution and switch that over to WQHD+ to get the best resolution possible. Just be aware that this is a trade-off with battery life, so if you really want more battery out of this thing, then consider going down to FHD+, though I wouldn’t recommend HD+ as it really does get blurry with that selected.
Over to the Camera now, make sure it’s on Photo then tap settings and turn on Tracking auto-focus, which helps you keep someone in focus if they’re moving. If you also want the highest quality photos in RAW format so you can edit them later in something like Lightroom, then go into Picture formats and enable Raw in there. I’d also enable the location tags as depending on what you’re using to display your photos, that can help you display them on a map. You can enable grid lines here too if you want to have those show up.
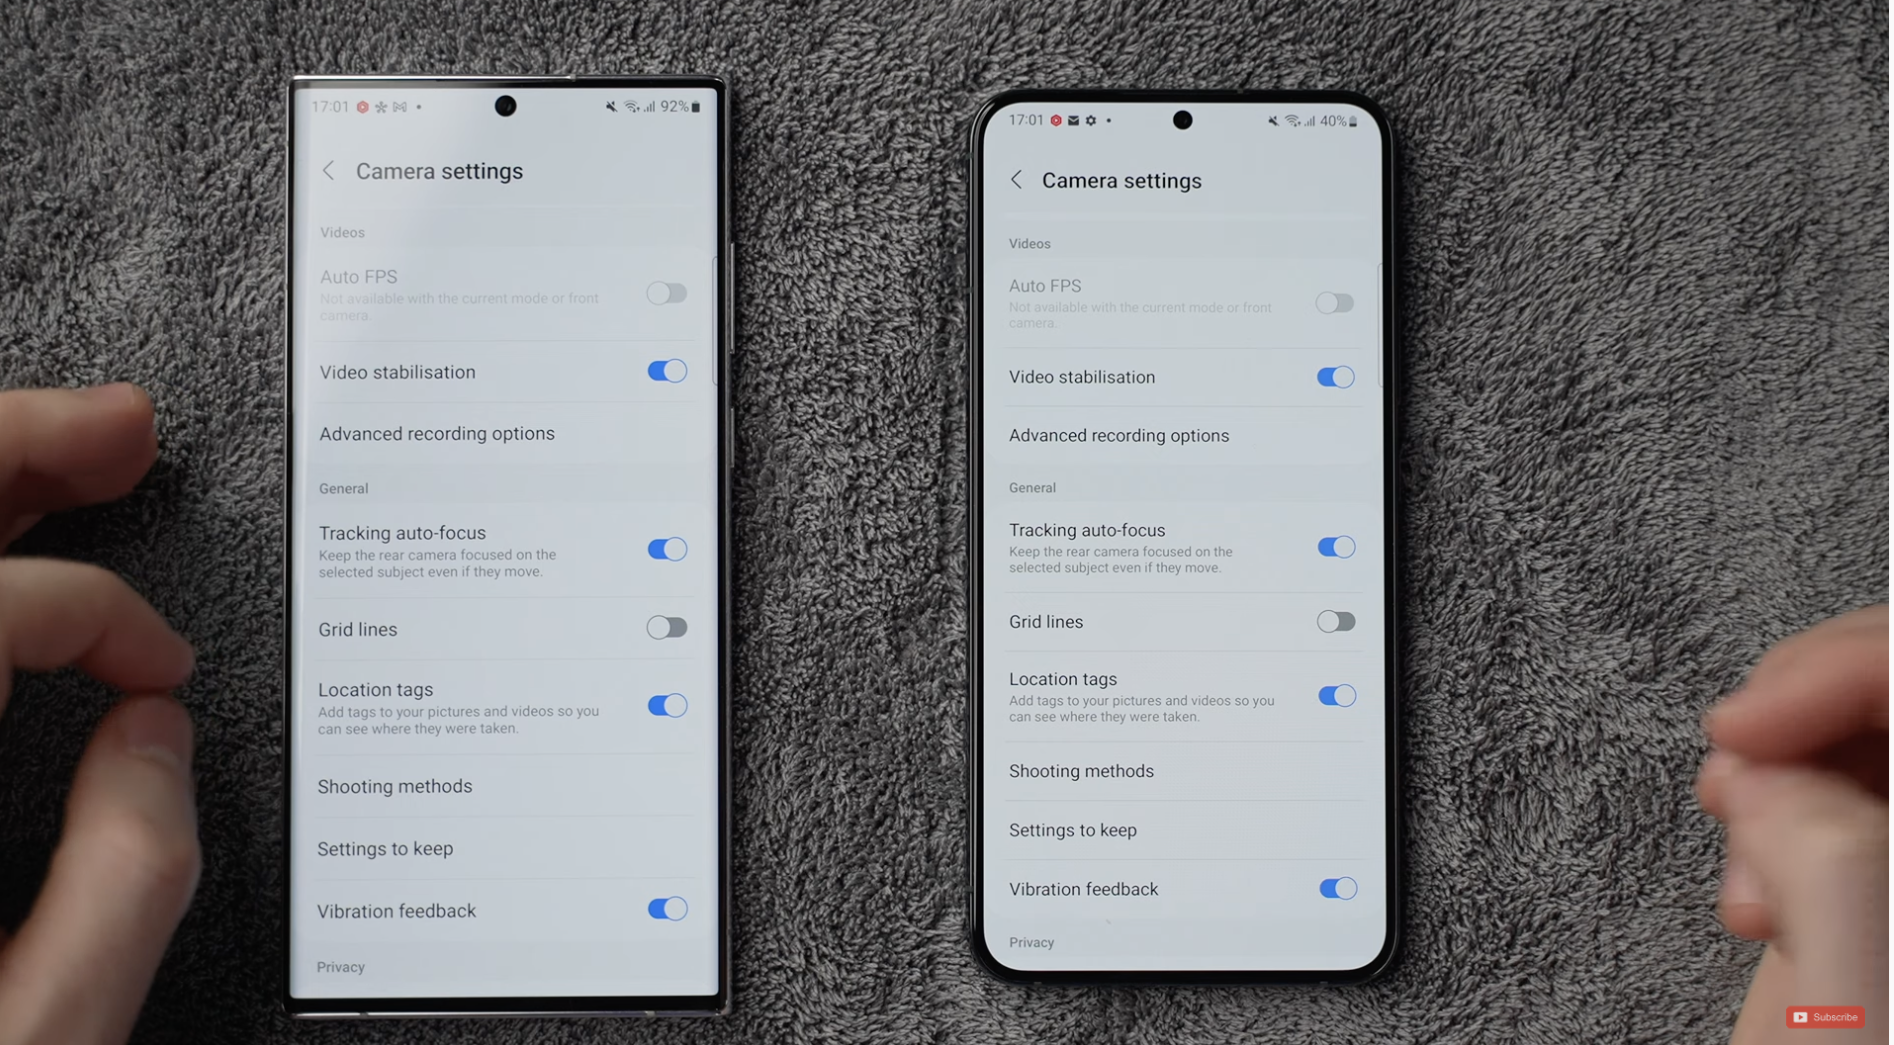
Go back to the camera, and flip it to video, then back in the settings again, and again, enable tracking auto-focus, I also want you to disable Auto FPS. This setting basically reduces the frame rate which can give you jerky video in low light as it tries to boost up the brightness instead.
Head back to the camera, and now tap more. If you look through the list of modes, if there are any ones you want to use often, then you can just drag these down to the bottom. Portrait video is one I’d use more often, and perhaps Food is the one there for all the Foodie bloggers out there.
Number 3 is your lock screen. Go into Settings, then lock screen. Enable Always On Display if it’s not already enabled, and if you tap into that I also change it to Show Always, otherwise, it’s not really an always-on display and kind of misses the point.
Here you can also enable and disable showing music information, also go down to Widgets and you can enable and disable widgets there - not something I’ve personally used but maybe they’ll be useful to you. Also whilst you’re here, head down to Shortcuts - I like to mirror what I used to have on my iPhone which is Torch and Camera, but I guess you could swap out the camera one for something else.
Number 4, head to Home Screen. This is something that drives me absolutely nuts. I want to use Home Screen and Apps because it’s clean, it takes all my apps away and I swipe up to get into my App drawer.
However, what I normally do is ignore all of that, I’d rather swipe up, and search for what I want to use but you can only do that when you change this to Home Screen Only.
If you want to understand more about what I mean, head over and watch the video for this post:
I would personally have a play with these to find out which way works best for you because what happens is that when switching between these 2 views, it totally changes the home screen layout. Therefore, you could spend all the time customising your home screen in the Home Screen Only mode, and then you lose it all and have to start again when you switch to the Home and Apps screen mode.
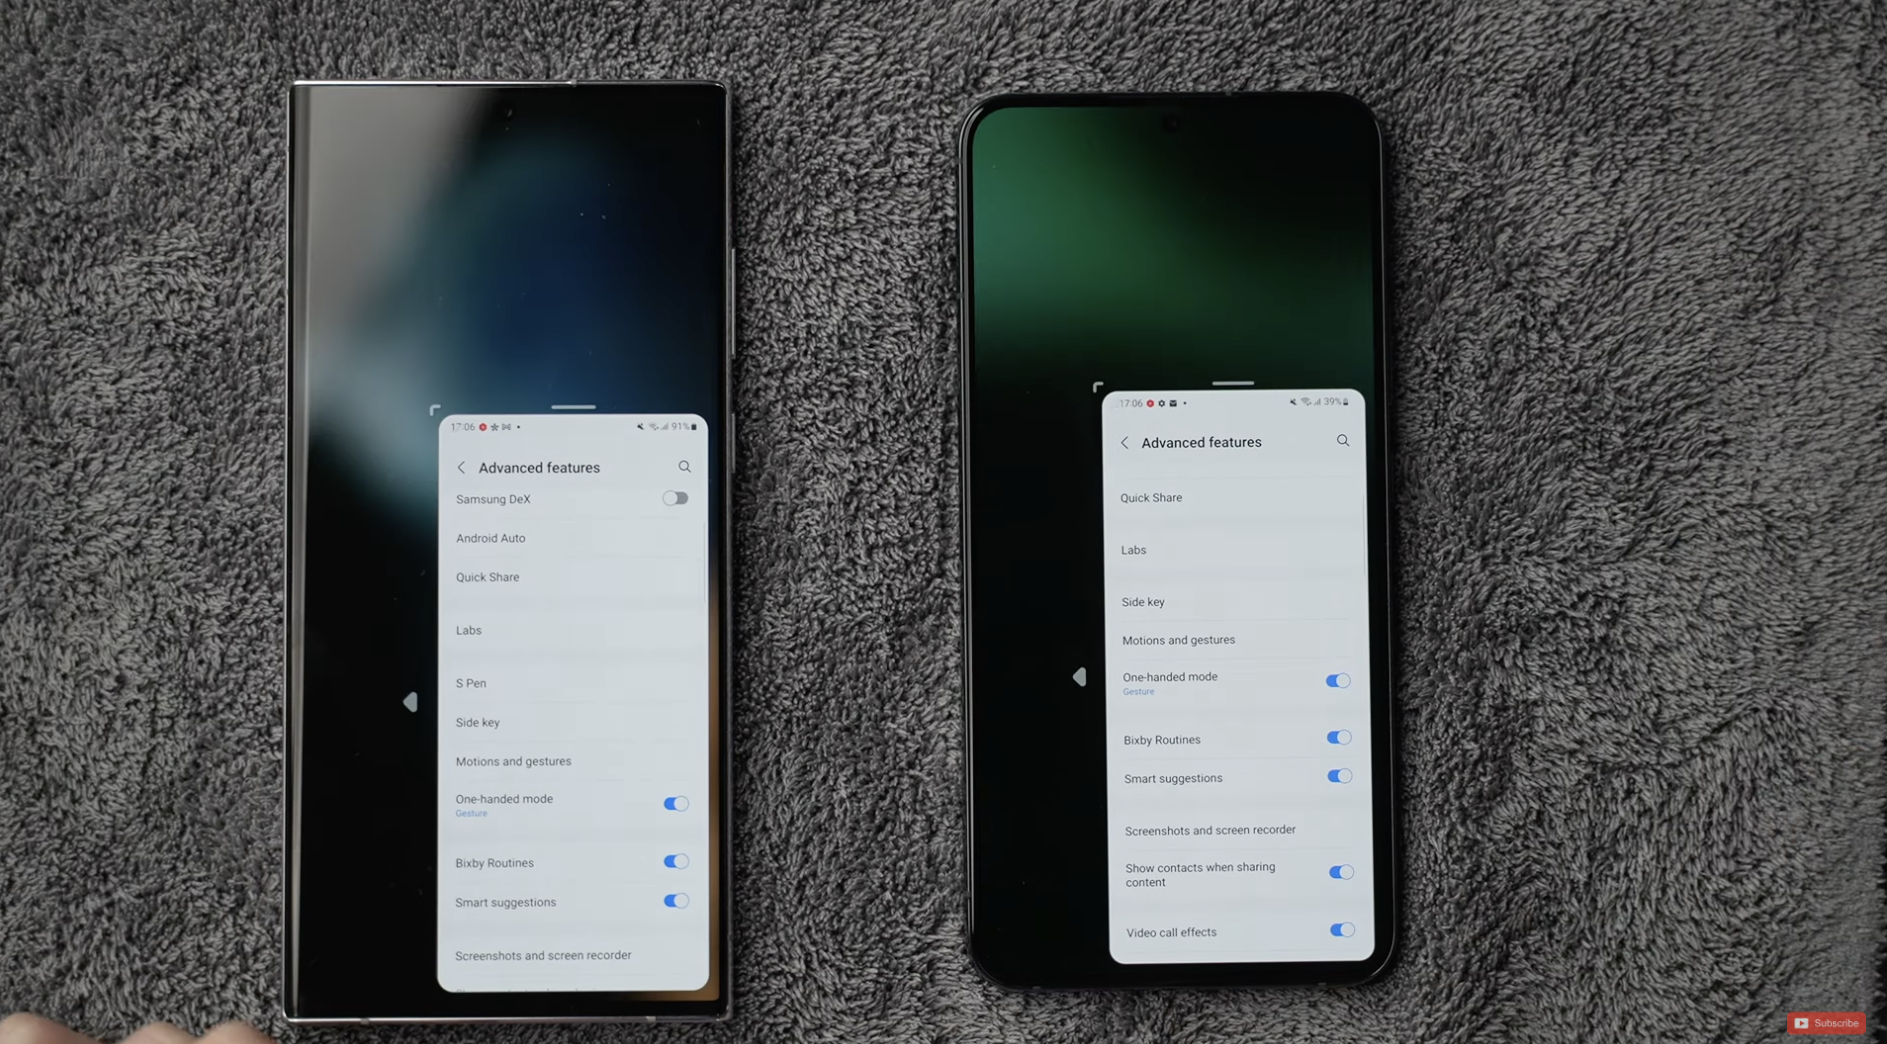
Number 5 is the Advanced Features - and as you scroll down here let’s first go into Side Key. Here you can change the double press to do whatever you want, and also press and hold - I hate Bixby, and I wish they had a way to change this to a different voice assistant, but at least you can change it to the power off in the menu instead.
If you have small hands then you can enable the One-handed mode so you can easily get to the top of the screen without adjusting your grip. Right down at the bottom, a feature I came across recently, is Video Brightness, set that to bright, as it really does help make the video content you watch on the S22, the Plus, and the Ultra, really punchy, particularly HDR content just looks stunning.
Number 6 is the quick settings area, which is the top section. Swipe down, then swipe down again, and now tap on the 3 dots in the corner, then edit buttons.
What you can do now, is drag all of the things that you actually do use often, down into the lower section, which is what will show in the top bar. So most of us probably don’t use Airplane mode daily, therefore, move these around to suit whatever your use, for me that’s things like the Wireless, Bluetooth, Mute or Do Not Disturb, Mobile Hotspot, Torch, Screen Recorder, and Extra Dim. If you go into the Quick Panel Layout at the top, you can change the brightness to show always, which saves you from having to swipe down twice to get to the brightness control.
