

The Apple Studio Display XDR is a 27-inch 5K Retina display that starts at £2,999, rising to £3,299 for the nano-texture version.
This price point is difficult to swallow when you look at the competition. For example, the 52-inch Dell UltraSharp is a 6K Thunderbolt display that costs around £2,571. Essentially, you’re paying more for a screen that is nearly half the size.
I wanted to see if there was any way to justify this cost, so I bought both the glossy and nano-texture versions to test them in my daily workflow.
This Apple Studio Display XDR review is meant to be a deep dive into what this screen offers. I’m looking at pixel density, colour accuracy, and how different Macs handle the refresh rates to see if this is a smart investment or a waste of money.
Apple Studio Display XDR - What You Are Getting
The specs on this screen are impressive. You get a 27-inch 5K display with a 120Hz refresh rate. It uses an IPS Mini-LED panel with 2,304 dimming zones. Apple uses a system that only applies HDR to the parts of the screen that need it. This means a video window can be bright while your email or browser stays at a normal level. It also has a 12MP Center Stage camera, high-quality speakers, and a three-mic array.
The pricing is high, but Apple says this replaces the old 32-inch Pro Display XDR. That monitor cost over four thousand pounds, and you had to buy the stand separately. In that context, the Studio Display XDR is a way to get pro-level tech for less money. It is still a lot for a 27-inch screen, especially when the standard Studio Display is £1,599. The standard model lacks the Mini-LED panel and the 120Hz refresh rate.
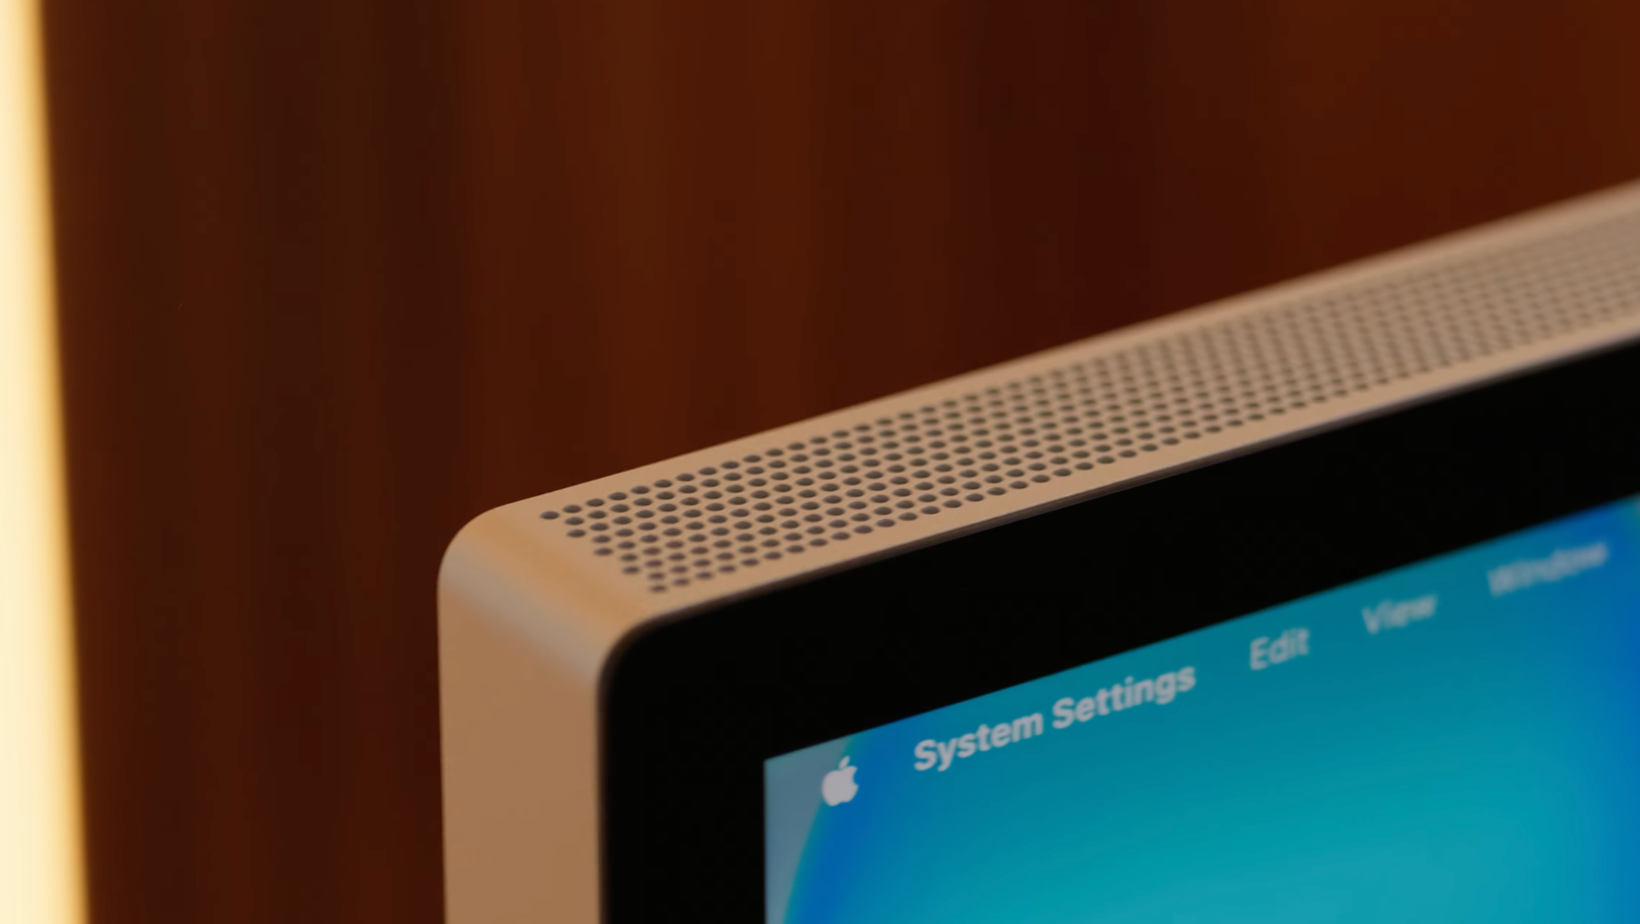
Design and Build Quality

Apple is known for great packaging. The box is heavy to keep the screen safe, but one person can still move it. The display comes attached to the stand. If you want a VESA mount, you have to choose that when you order. Changing it later is hard because you have to take the whole thing apart. The design is clean aluminium and looks industrial. The stand is solid and lets you adjust the height and tilt easily.
The base is thick and takes up space on your desk. Other companies make thinner stands that stay out of the way. If you need that desk space back, the VESA version on a monitor arm is a better choice. One thing to watch for is the power cable. It is hard to remove and requires a special tool. The UK plug is also quite large, which can make it hard to feed through some cable management systems.
Nano-Texture vs Glossy Options
Choosing between the nano-texture and glossy versions is a big decision. The glossy finish is vibrant, but the nano-texture is great at stopping glare. I compared it to screens from Dell and LG, and the Apple version was much better. Other matte screens just spread the light around, but the nano-texture seems to stop it. It makes a big difference if you have a window behind you.
There is a trade-off with matte screens. They can make the image look a bit less sharp or reduce the contrast. If your room is dark, the glossy version will look better. If you work in a bright studio, the nano-texture will save your eyes. It’s all about finding the right balance for where you work every day.
Brightness and HDR Performance
Apple claims 1,000 nits in SDR and 2,000 peak nits in HDR. My tests showed the HDR is very bright, hitting around 1,800 nits. It makes games and movies look great. You should know that these peak levels only work if your room is cooler than 25 degrees. If it’s hotter, the screen might dim to protect itself. This is something to think about if you live in a warm place without air conditioning.
In SDR mode, the screen seems to stay at 600 nits. The panel can do more, but Apple keeps some power in reserve. This helps keep the colours accurate in different lighting. Most people set their screens to 400 nits for work anyway. While the 1,000 nit claim is there, you probably won't use it at that level for your normal tasks.
Resolution and Pixel Density
The 5K resolution at 27 inches gives you 218 PPI. This is the perfect number for macOS. It means everything looks sharp without the software having to work too hard. When you compare 5K and 6K screens, the extra pixels on a 6K screen are good for fitting more windows, but they don't always make the image look sharper. It depends on the size of the screen.
For most people, 5K at 27 inches is as good as it gets. You can sit close and not see any pixels. It helps when you are reading a lot of text or doing detailed photo work. It’s one of those things that makes your work day feel better. And once you use a screen this sharp, it’s hard to go back to anything else.
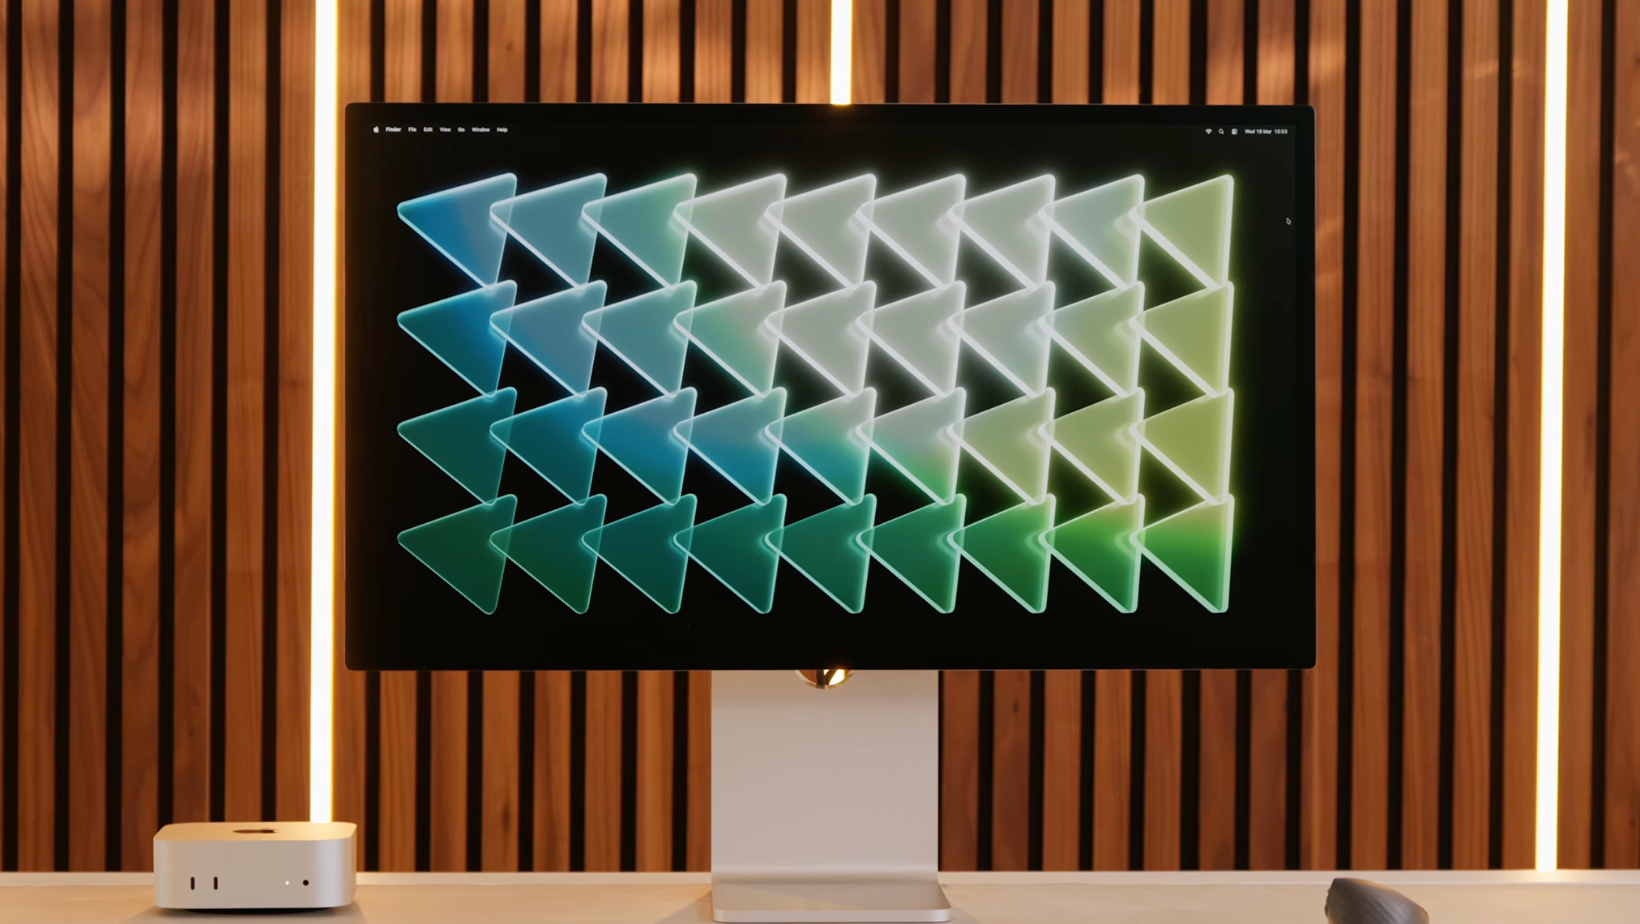
Refresh Rate and Daily Use
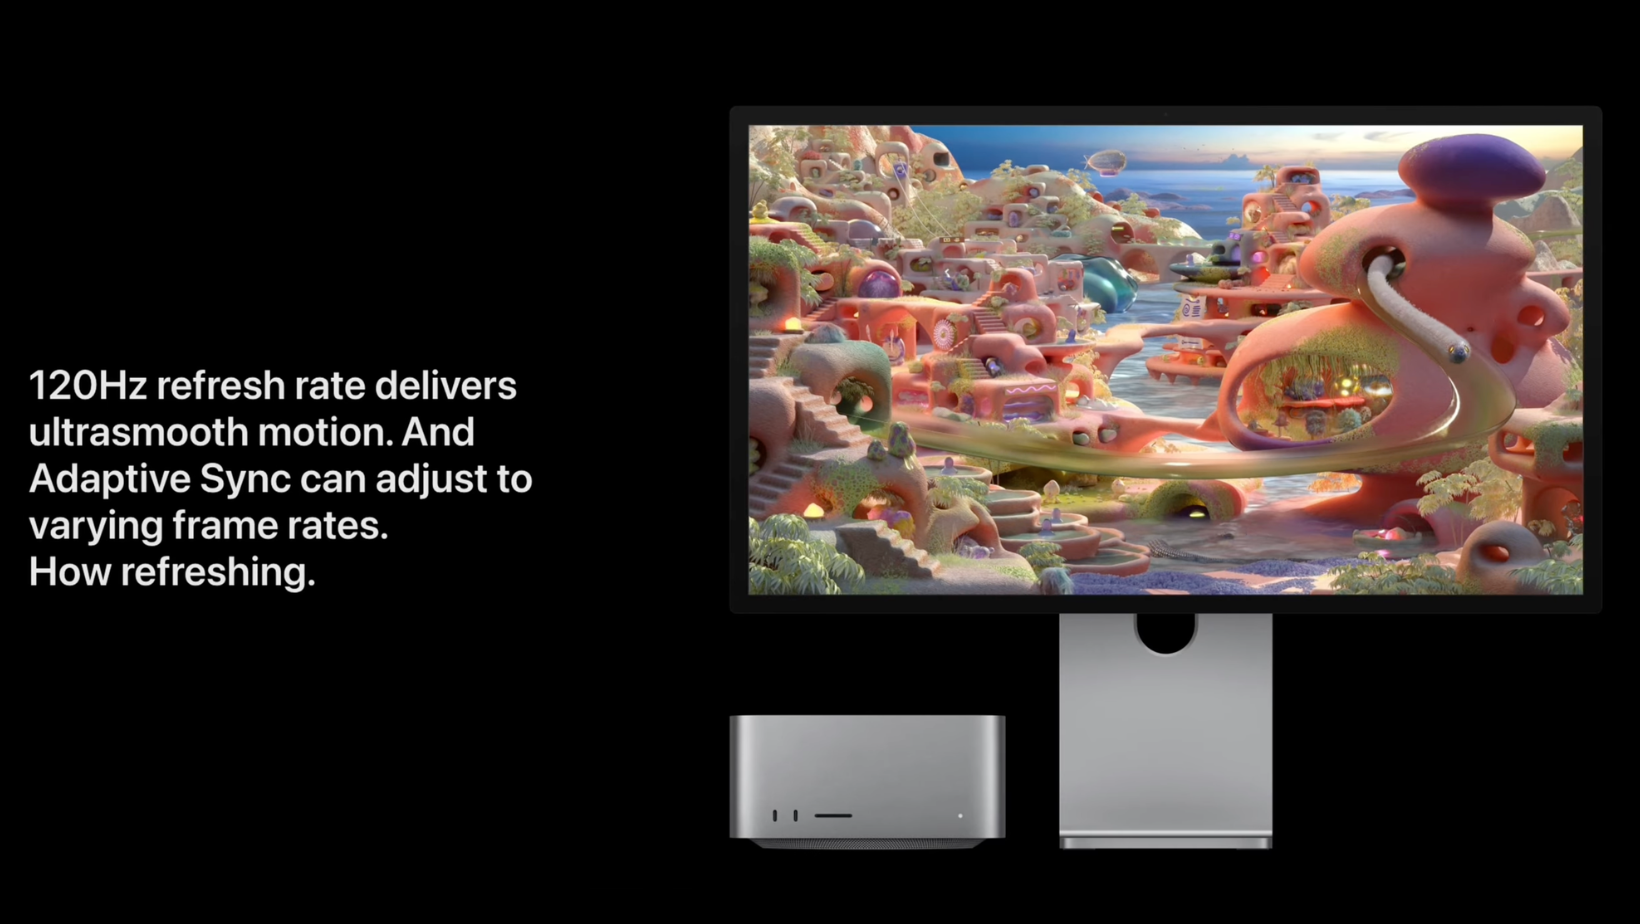
The 120Hz refresh rate makes everything feel smooth. Moving windows and scrolling through websites feels much more responsive. This is a feature that is built for Mac users. It’s not a gaming monitor, so you won't get the same features you find on screens made for PCs. It’s about making the Mac experience feel as good as possible.
Mini-LED vs OLED Technology
Apple went with Mini-LED for this screen. It has 2,304 dimming zones which allows for deep blacks and high brightness. You might see some light leaking around bright objects on a dark background. Apple likely chose this over OLED because it can stay bright for longer and doesn't have the risk of images burning into the screen. This is important for work where you have the same windows open for hours.
Colour Accuracy for Pros
Colour accuracy is a big part of why this screen is expensive. It covers the P3 wide colour gamut and comes calibrated from the factory. You don't need to buy extra tools to get the colours right. This is a huge help for photographers and editors, as you can trust that what you see is what you will get in your final work.
Ports and Connectivity
There are four ports on the back. Two are Thunderbolt 5 ports. One connects to your Mac and the other lets you plug in more gear. The other two are USB-C ports. This is a clean setup, but it is limited. Other monitors have more ports and act like a full dock. If you have a lot of older gear, you will still need a separate dock to plug everything in.
Using Multiple Displays
If you want two screens, check what your Mac can handle. Newer chips like the M3 Max can run multiple high-res screens. Older or base-model chips might only work with one. Daisy chaining works well with Apple gear, but it can be tricky with other brands. You need the right cables to get 5K at 120Hz on both screens.
Mac vs Windows Experience
This screen is made for the Mac. It will work with a Windows PC, but you lose the software controls. You can't adjust the brightness or use the camera features easily. On Linux, it is even more limited. If you don't use a Mac, there are better screens from Dell or ASUS that will work with any computer.
Speakers and Camera Quality
The speakers are the best I have heard on a monitor. they have good depth and work well for music or calls. The 12MP camera with Center Stage is also good. it keeps you in the frame if you move around. A pro camera will still look better, but the built-in gear is good enough for most people. It means you have fewer things on your desk.
Power and Heat Management
The monitor stays cool and quiet even when it is bright. There are no loud fans to bother you. Apple has designed it to handle the heat well so the performance stays steady. This is good for long work sessions where you need the screen to stay bright and accurate.
Bugs and Issues
I did find some small problems. The screen sometimes has glitches when waking up from sleep. I also saw some issues with windows jumping between screens in a dual setup. These are likely software bugs that Apple will fix later. They are worth knowing about if you want a perfect experience from day one.
Other Screens to Look At
You should look at other options before you buy. The Dell 52-inch 6K screen gives you more space for less money. There are also 6K screens from LG and ASUS that have great colour and more ports. An ultrawide screen might be better if you want one big canvas instead of two smaller ones.
Deciding if the XDR is Right for You
The Apple Studio Display XDR is a great piece of tech for a specific group of people. If you’re a pro who needs the best colour and a sharp Mac interface, it’s a good choice. The 5K resolution and 120Hz refresh rate make it a joy to use.
But for most people, the price is too high compared to larger screens that offer more space for less money. It really is all about what you value most for your work.Watch the Video
I’ve put together a video showing the glossy and nano-texture finishes side by side. You can hear the speakers and see how the screen handles bright lights in a real room. This is the best way to see the differences before you decide which version to buy.
Choosing Your Next Setup
I would choose a large ultrawide like the Dell 52-inch for my own desk. I like having one big space for all my windows. But if you love the Apple look and the smooth 120Hz feel, two of these screens would look amazing. Think about whether you need the perfect 5K scaling or if you just want more room to work.
More From Pete Matheson
If you want more breakdowns like this, sign up to my newsletter, the Aftershow, and the podcast where I go deeper into this kind of stuff each week!
