

This year, I set up my Galaxy S26 Ultra completely from scratch, with a new Gmail account, a new phone number, and a totally clean start. Why? Because I’ve restored backups enough times to know what happens otherwise: old apps you forgot existed, settings you changed years ago, and the occasional weird bug that follows you from phone to phone.
What surprised me during setup was how many great features are disabled by default. Things like Privacy Display on the S26 Ultra and several Galaxy AI features are just sitting there waiting to be switched on. It’s the sort of stuff that can make the phone noticeably better to use day to day, but only if you know where to look.
So before you start installing apps and filling up your home screen, here are 30 things you should do first on the Galaxy S26!
The First Things to Set Up
Before you start installing apps or customising your home screen, there are a few foundational settings worth changing straight away. These are the tweaks that affect how the phone feels to use: navigation, display quality, performance, and basic setup tasks that save you time later.
Get these done first, and the S26 will immediately feel faster, cleaner, and much closer to how it should have been configured out of the box.
1. Switch to Gesture Navigation
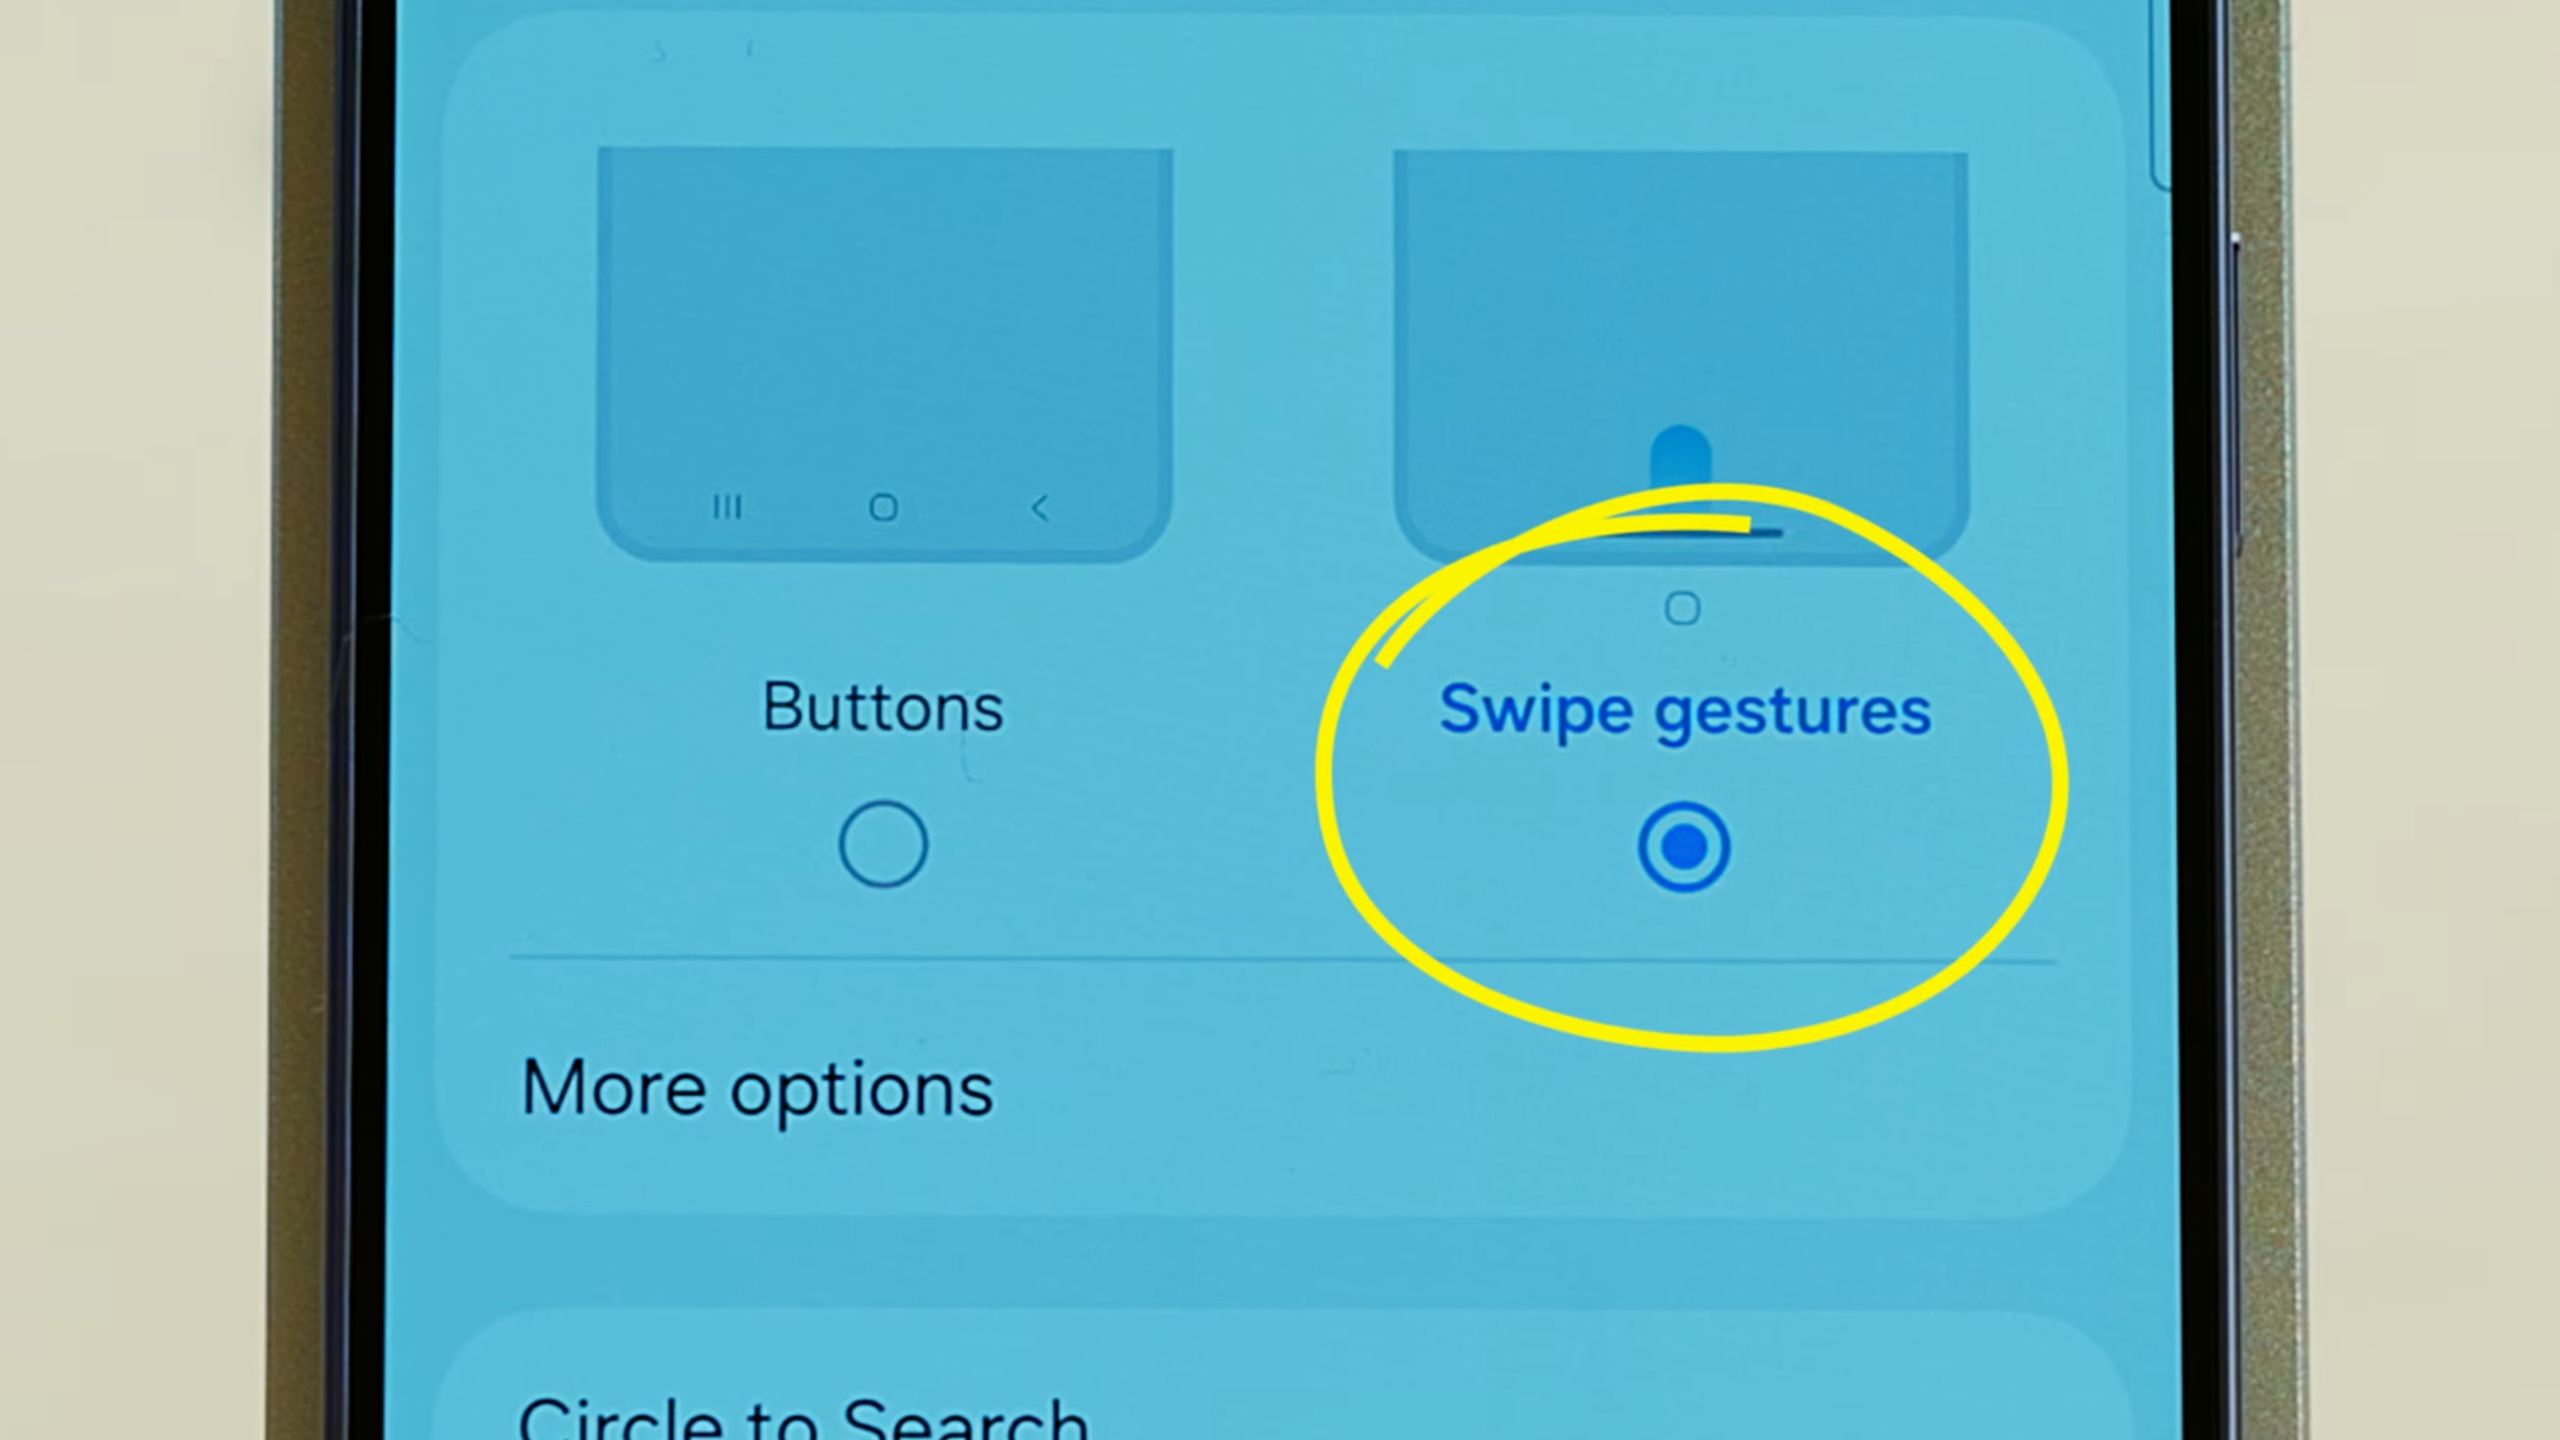
The first thing I change on every Samsung phone. Go to Settings > Display > Navigation Bar and switch from buttons to gestures. If you're coming from an iPhone, this makes everything feel familiar immediately. If you prefer the buttons, keep them. But gestures make the screen feel bigger, and the whole phone feel faster.
2. Set Screen Resolution to Maximum
Still in Display settings, check your screen resolution. Samsung ships the S26 at a lower resolution by default to save battery. The display on this phone is genuinely beautiful, so go into Display > Screen Resolution and bump it up to the highest setting. If you notice battery drain, you can always drop it back down.
3. Enable Touch Sensitivity
If you're putting a screen protector on your S26, do this before you re-enroll your fingerprint. Go to Display > Touch Sensitivity and toggle it on. Without it, the fingerprint reader becomes unreliable under glass. Enable it first, then add your screen protector, then re-enroll.
4. Unlock Developer Options
Go to Settings > About Phone > Software Information and tap Build Number seven times. You'll get a message confirming that Developer Options are now unlocked. This sounds more technical than it is. You're not going to break anything. You're just unlocking a settings menu Samsung hides by default.
5. Speed Up Your Animations (This One Is a Must)

This is the single biggest quality-of-life improvement you can make. Go to Settings > Developer Options, scroll down to the Drawing section, and find three settings: Window Animation Scale, Transition Animation Scale, and Animator Duration Scale. Change all three from 1x to 0.5x.
Your phone will feel dramatically faster and more responsive. This is honestly why iPhones feel slow when you go back to them. Apple uses beautiful animations, but you have to wait for them every single time. At 0.5x, your S26 snaps between apps instantly. You can also set all three to 0 if you want the absolute fastest experience, but 0.5x feels like the sweet spot.
6. Run a Software Update Immediately
Before doing anything else, go to Settings > Software Update > Download and Install. Get your phone on the latest software before you start configuring everything else.
7. Update All Apps in Google Play Store
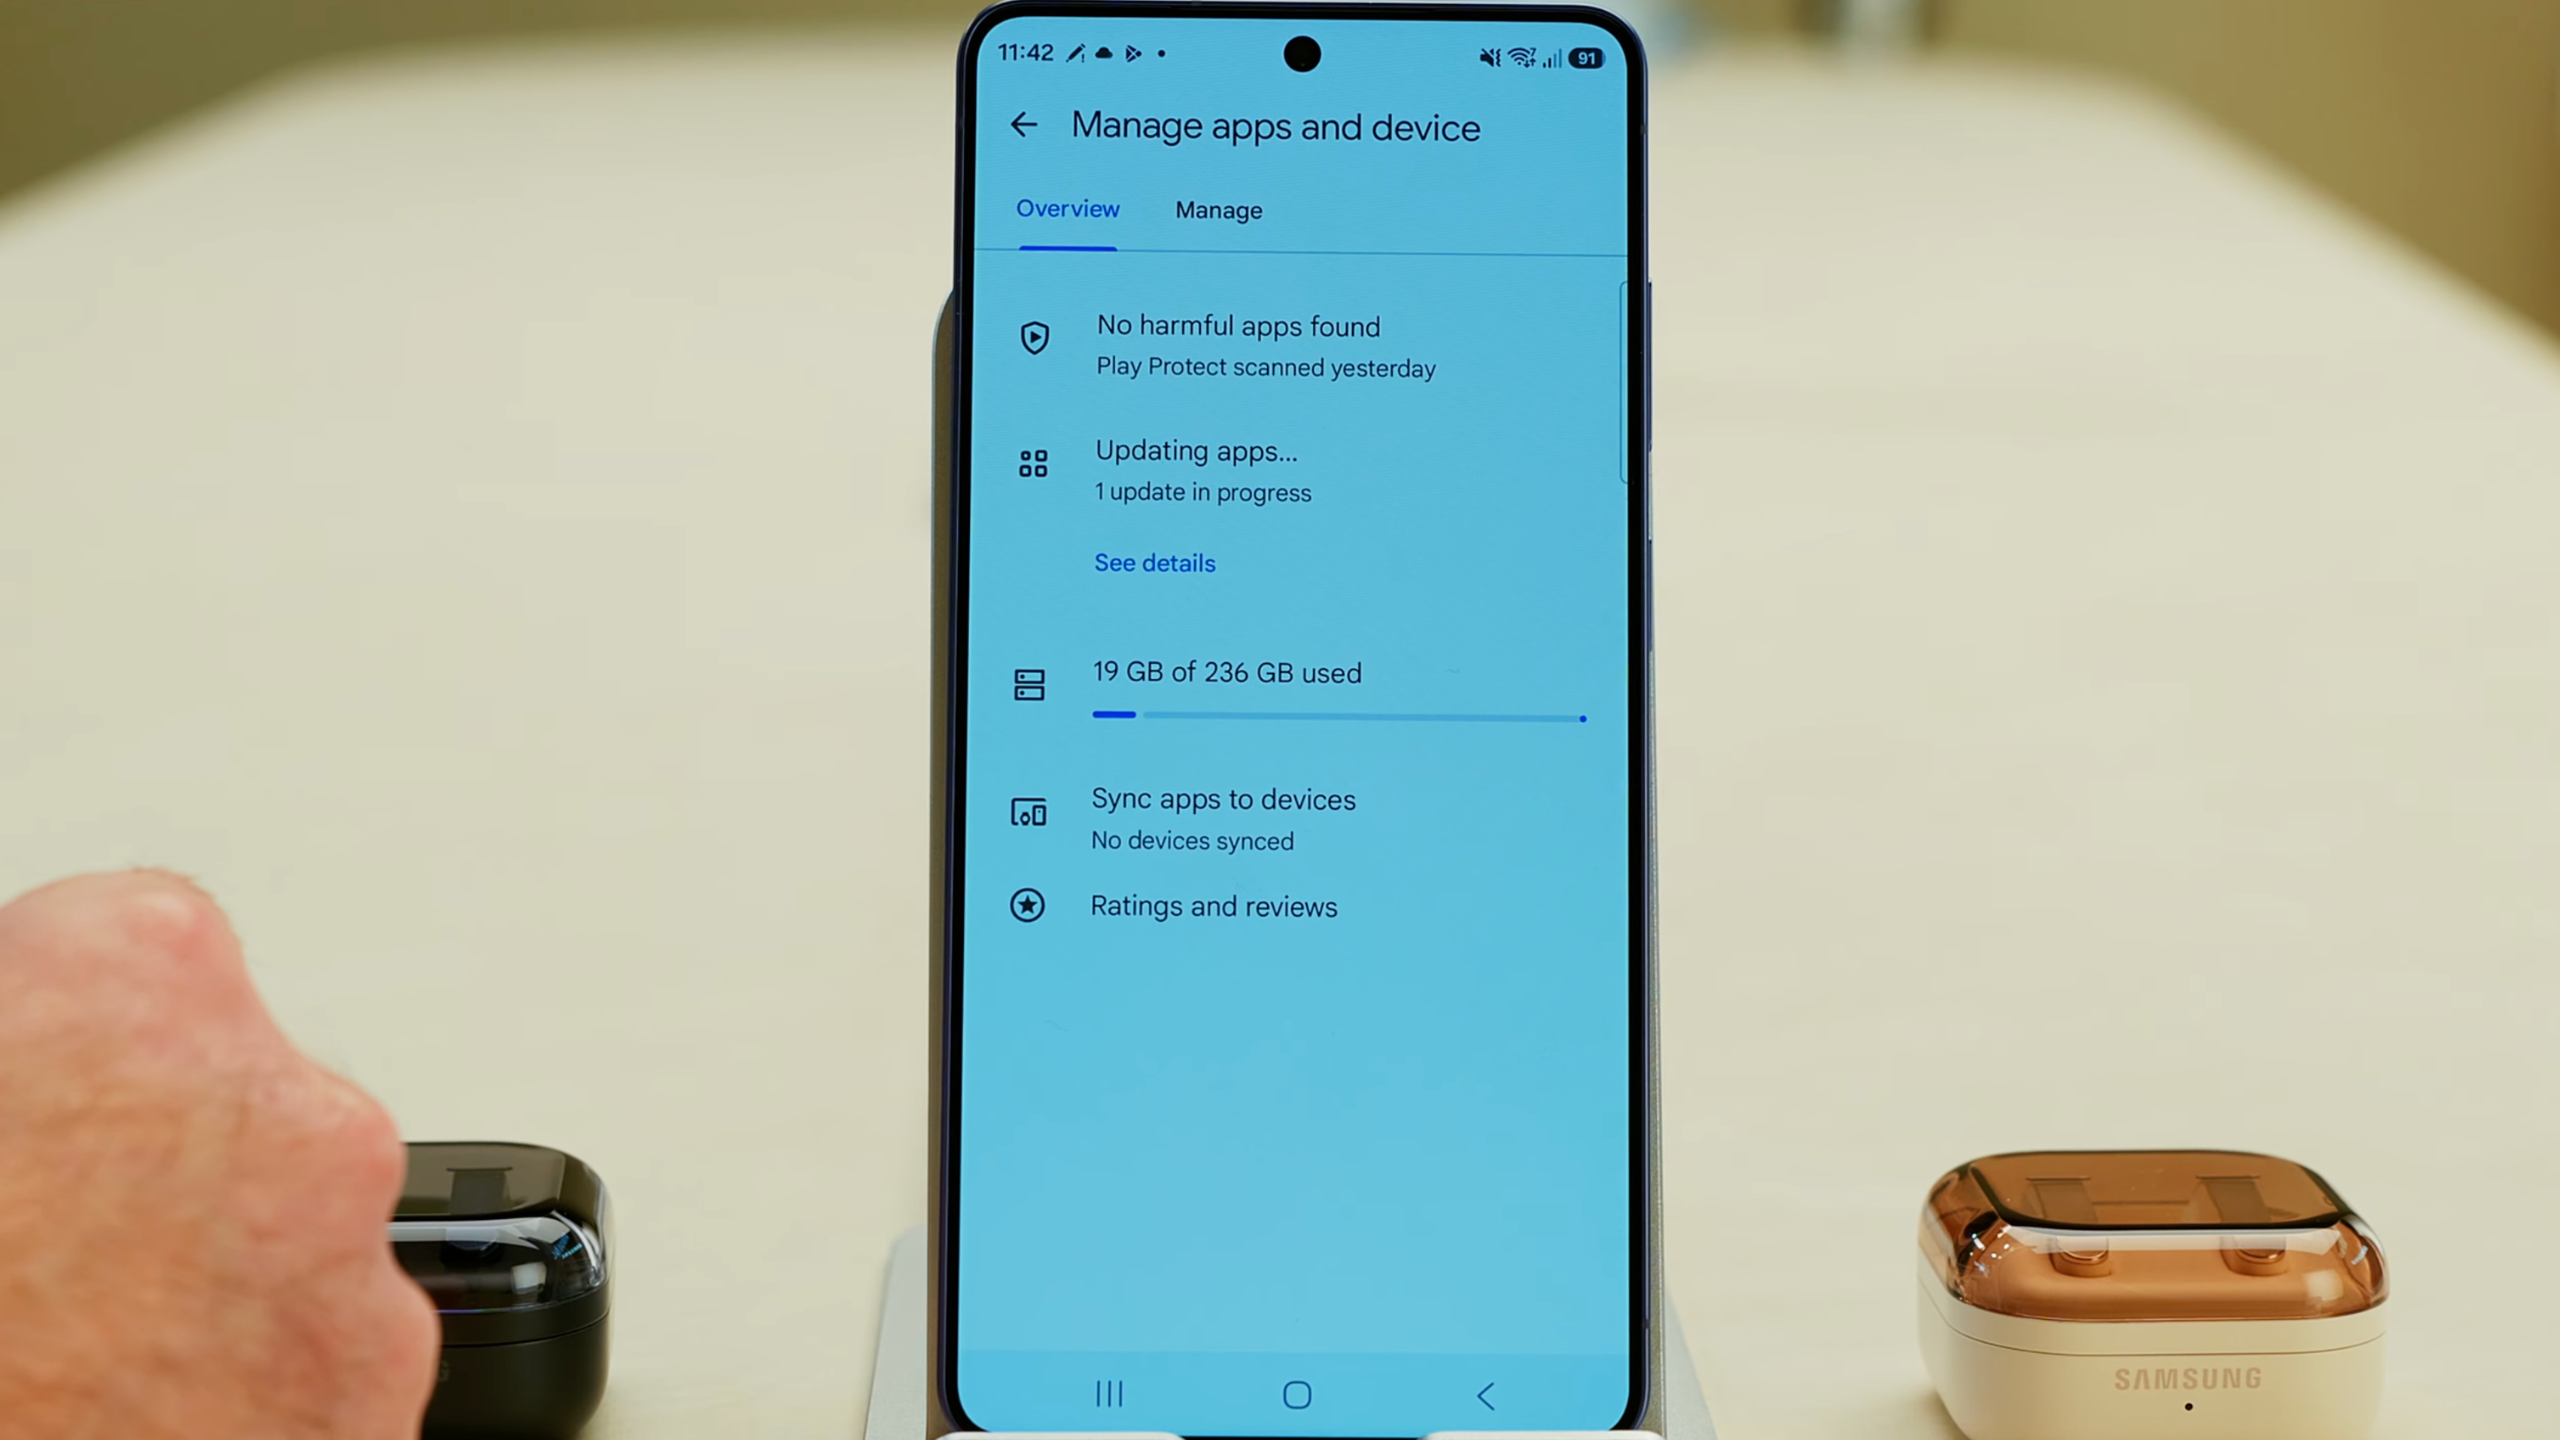
Tap your profile picture in the Play Store, then Manage Apps and Device, then check for available updates. Tap Update All. Old app versions can have bugs and security vulnerabilities. Get everything current from the start.
8. Update Samsung Apps in the Galaxy Store
Open the Store app (the Samsung one, not Google Play), tap the menu, then Updates, and install anything waiting. Samsung's own apps update through here separately from the Play Store. It's easy to miss.
9. Install a Password Manager
This is the step that saves you an hour of frustration. Install 1Password (or whichever password manager you use) before you start signing back into your apps. With a password manager, you don't need to remember anything or go hunting through emails for login details. Every sign-in takes seconds instead of minutes.
Home Screen and App Setup
Once the basics are sorted, it’s time to set up the home screen and reinstall the apps you actually use. Samsung’s defaults work fine, but a couple of small layout changes can make navigating your phone much quicker.
This is also where you reconnect your accounts, restore your apps, and make sure things like photo backups are running properly before you start filling the phone with data.
10. Change Your Home Screen Grid
Tap and hold on the home screen, go to Settings, and change the Home Screen Grid from 4x6 to 5x6. You get more app icons per page without everything feeling cramped.
11. Switch to Home Screen Only Layout (And Why It's Worth It)
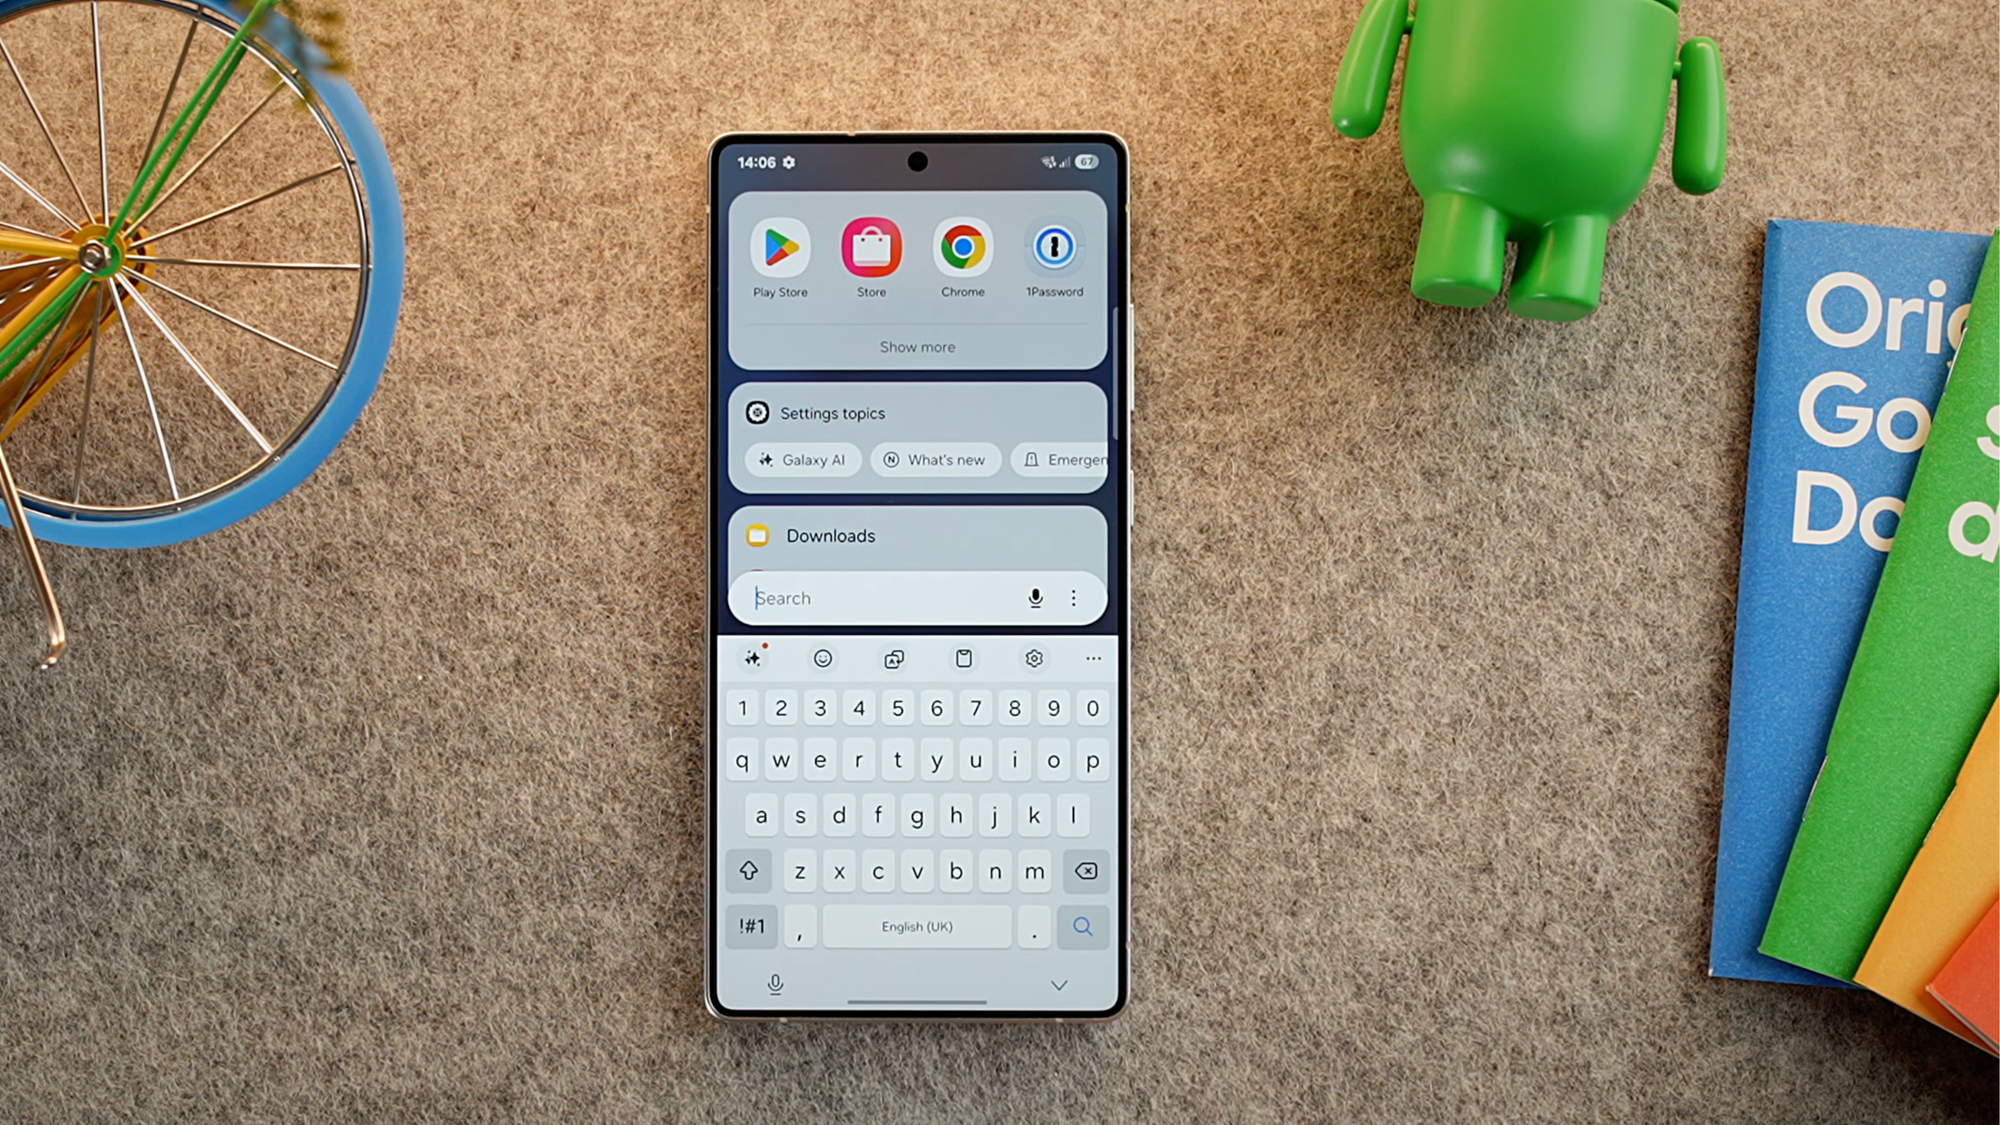
This one is a bit controversial, but hear me out. In the same Home Screen settings, change the layout from Home and Apps Screens to Home Screen Only. Once you do that, scroll down, and you'll see a new option called Search from Home Screen that wasn't there before.
Now, instead of scrolling through pages of app icons trying to remember where something is, you just swipe up and type the app name. It's how Spotlight works on a Mac, and once you get used to it, going back to hunting through app drawers feels genuinely painful. If you hate it, switch it back. But try it for a week first.
12. Add All Your Google Accounts
During initial setup, you probably only signed into one account. Open the Play Store, tap the small down arrow next to your account name, and Add Another Account. Add every Google account you want on this phone. Work accounts, personal accounts, shared accounts. Do it now before you start installing apps.
13. Install Your Missing Apps from Previous Devices
In the Play Store, tap your profile picture, then Manage Apps and Device > Manage. At the top, tap This Device and switch to Not Installed to see every app you've previously downloaded that isn't on this phone yet. Or tap one of your other devices to see what's installed there. Check off everything you want, then tap the download button. One tap to kick off all your installs at once.
14. Set Up Google Photos Backup
Open Google Photos, tap your profile picture, then Backup, and confirm it's backing up to the right account. Do this before you take a single photo, it just means everything you capture from that point onward is safely stored in the cloud and easy to access from any device.
Galaxy AI Features
Samsung has leaned heavily into AI on the Galaxy S26, but oddly, a lot of the features aren’t fully enabled during setup.
This section is worth spending a few minutes in, because things like call translation, automatic transcription, and smart summaries can genuinely save time once they’re configured properly.
Just be prepared to tap through a few menus; Samsung hasn’t exactly made these the easiest features to discover.
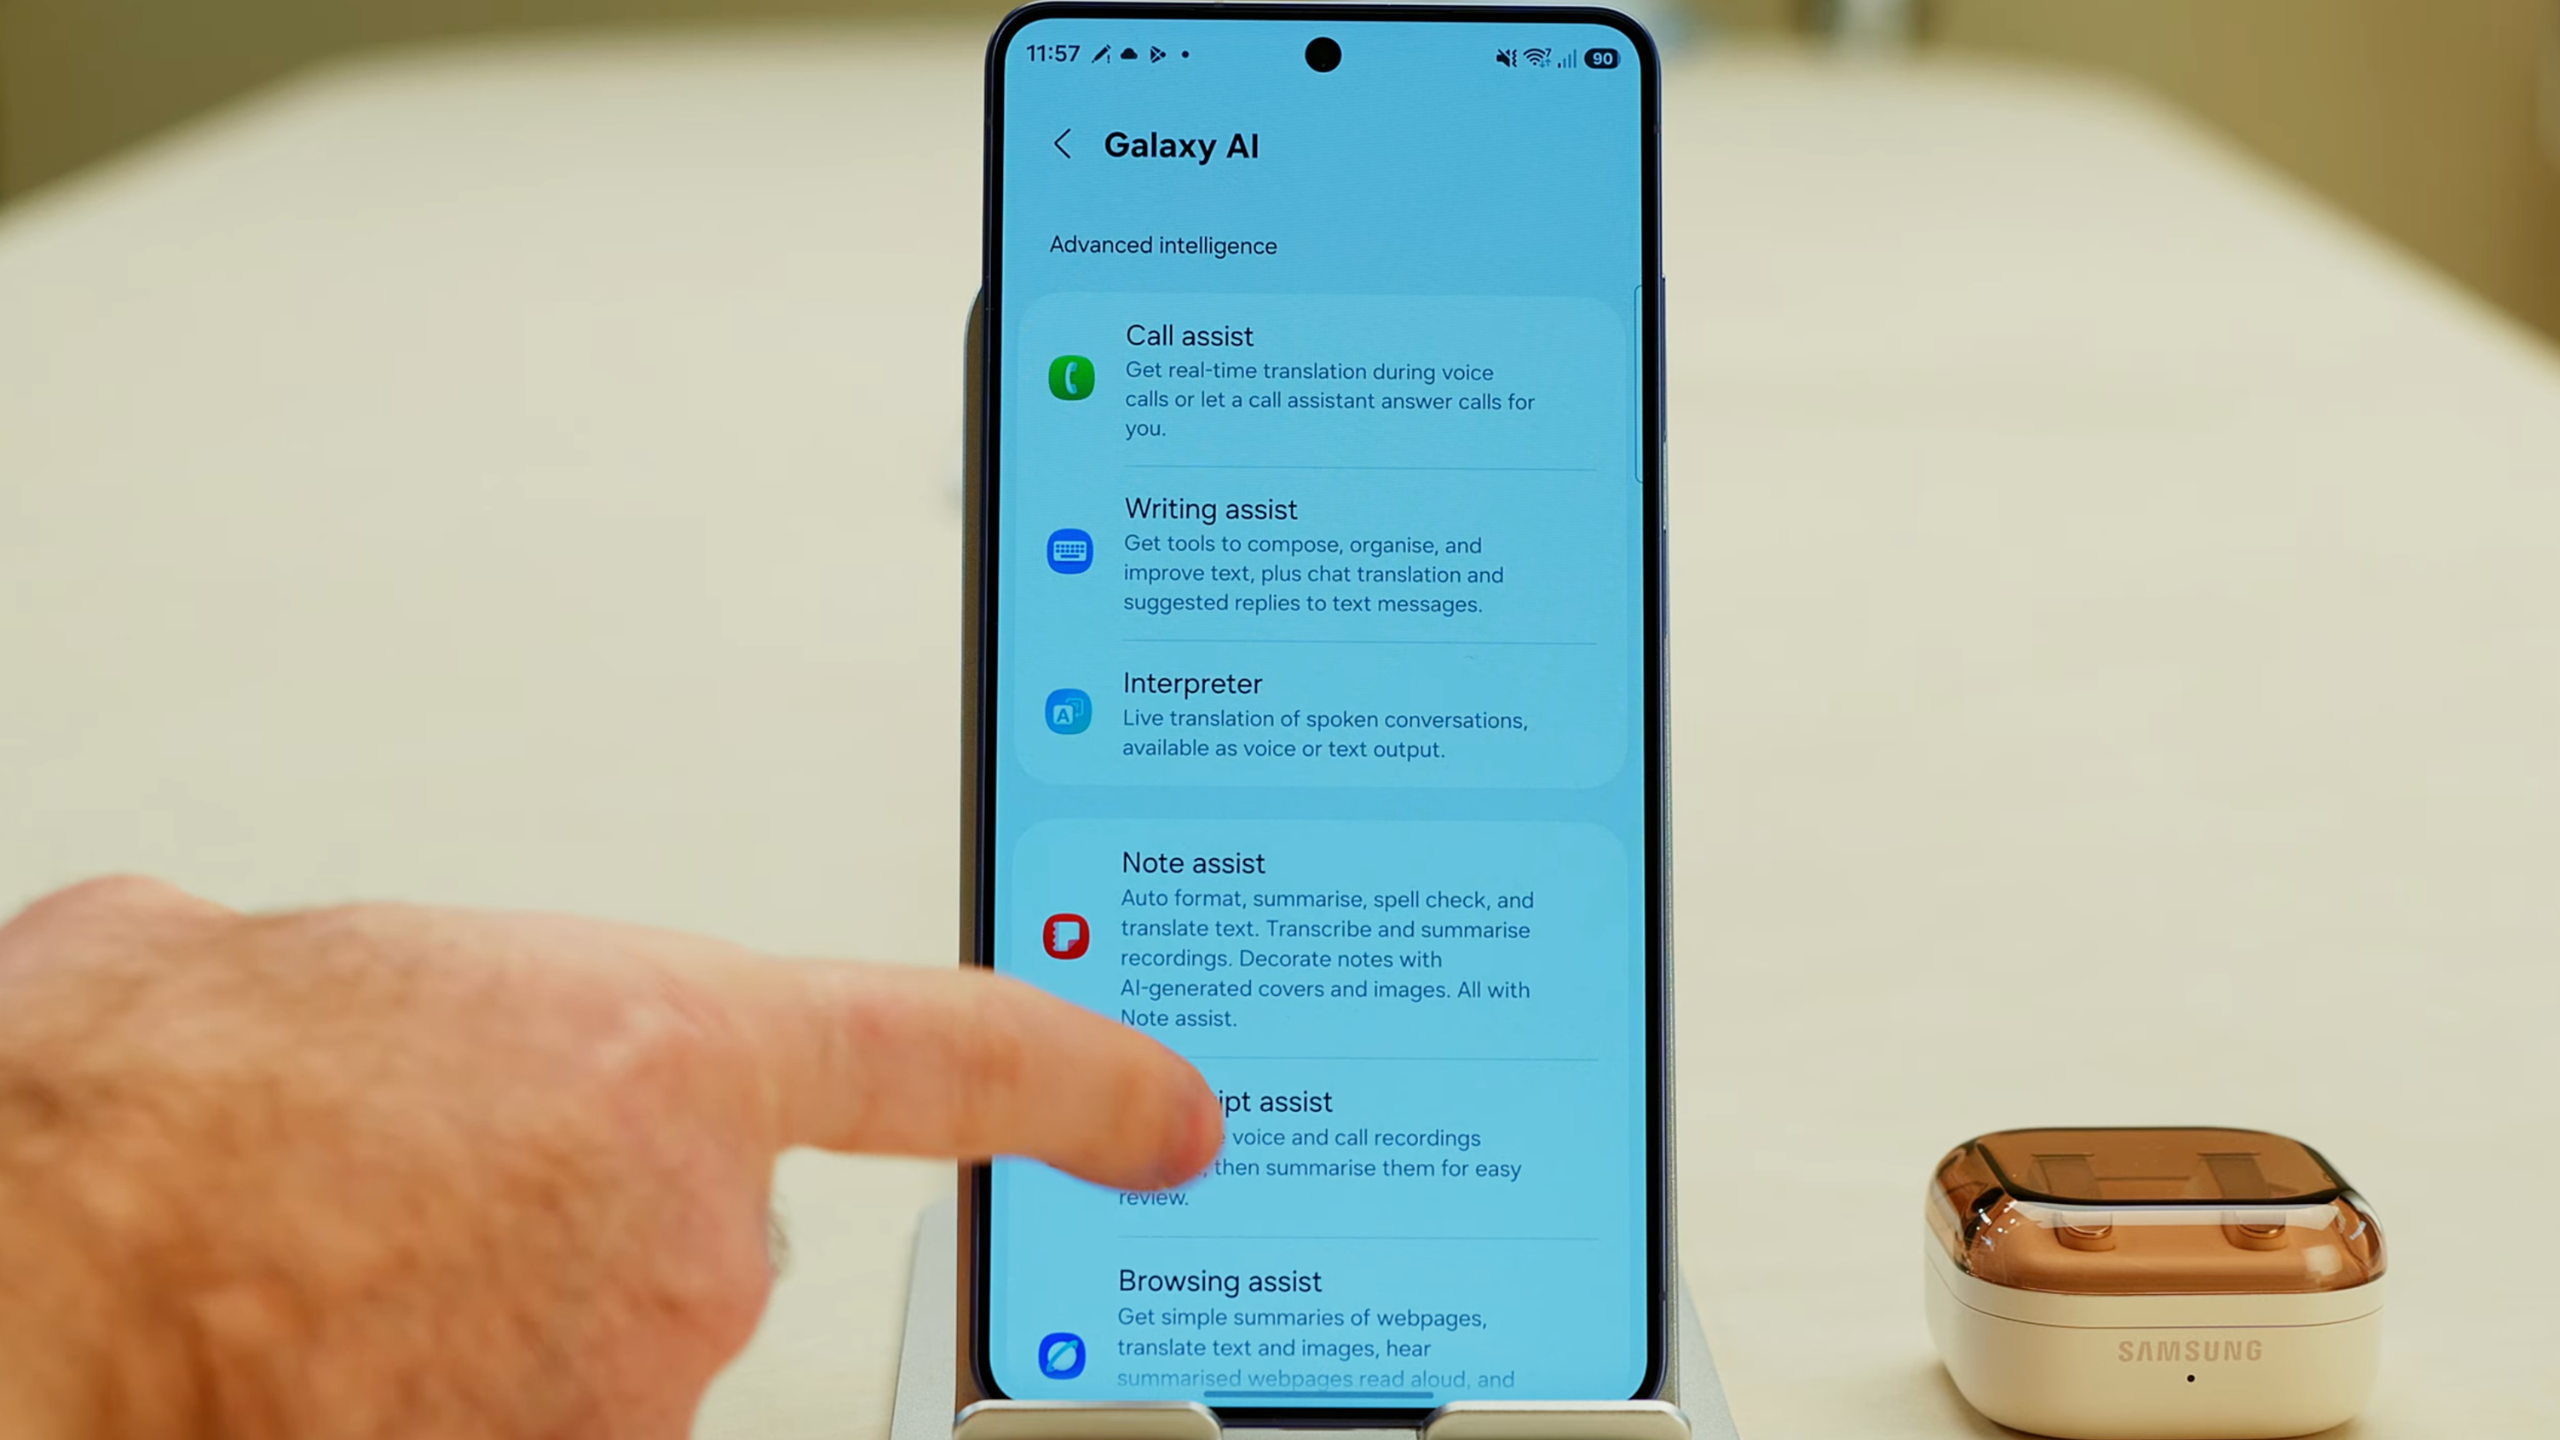
15. Check What Galaxy AI Features Are Actually Enabled
Go to Settings > Advanced Features > Galaxy AI. This shows you every AI feature on your phone. When I went through this on my S26 Ultra, a significant number of them were switched off by default. Go through each one and decide what you want enabled.
16. Set Up Call Assist
Inside Galaxy AI, tap Call Assist. This gives you Call Screening and Live Translate. Go into each option, set your language, choose your voice, and decide whether you want to hear the non-translated audio alongside the translation. Also, go into Translation > Personal Language and download any languages you'll need.
17. Enable Note Assist
Note Assist needs to be manually enabled before it will summarize your notes and voice recordings or use AI to format them. Go into Galaxy AI > Note Assist and switch it on.
18. Configure Now Nudge and Personal Data
Under Galaxy AI > Now Nudge, tap Recall Information You Need, then Manage Personal Data. Here you can enter information you want your phone to know about you for form-filling and other AI features. Now Nudge detects information on your screen and recommends relevant data from your calendar, messages, and photos.
19. Enable Suggested Replies in Writing Assist
Go to Galaxy AI > Writing Assist, scroll down to Suggested Replies, and switch it on.
20. Enable Auto Transcription for Voice Recordings
Under Galaxy AI > Transcript Assist, enable both auto-transcribe settings for voice recordings. If you record meetings, voice memos, or interviews, having them automatically transcribed is a significant time saver.
21. Customize Now Brief
Go to Galaxy AI > Now Brief and enable or disable what you want to see. Also enable Expand Now Brief Without Unlocking so you can see your brief on the lock screen. Then tap Content to Include and go through the list. I disabled Travel because when I'm traveling, it takes over the entire brief and hides everything else. I also disabled YouTube Shorts because I genuinely don't understand why YouTube content belongs in my morning brief.
22. Review Notification Highlights and Enable Health Assist
Under Galaxy AI > Notification Highlights, go into Prioritize Notifications and Summarize Notifications to adjust them to your preference. Then enable Health Assist to connect Galaxy AI to your health data.
Sounds and Notifications
Notifications are where phones go from helpful to chaotic very quickly.
Out of the box, almost every app will try to grab your attention at some point, which is why it’s worth taking a few minutes to tidy things up. These settings let you reduce the noise, control exactly what alerts you receive, and improve the audio experience for music, video, and calls.
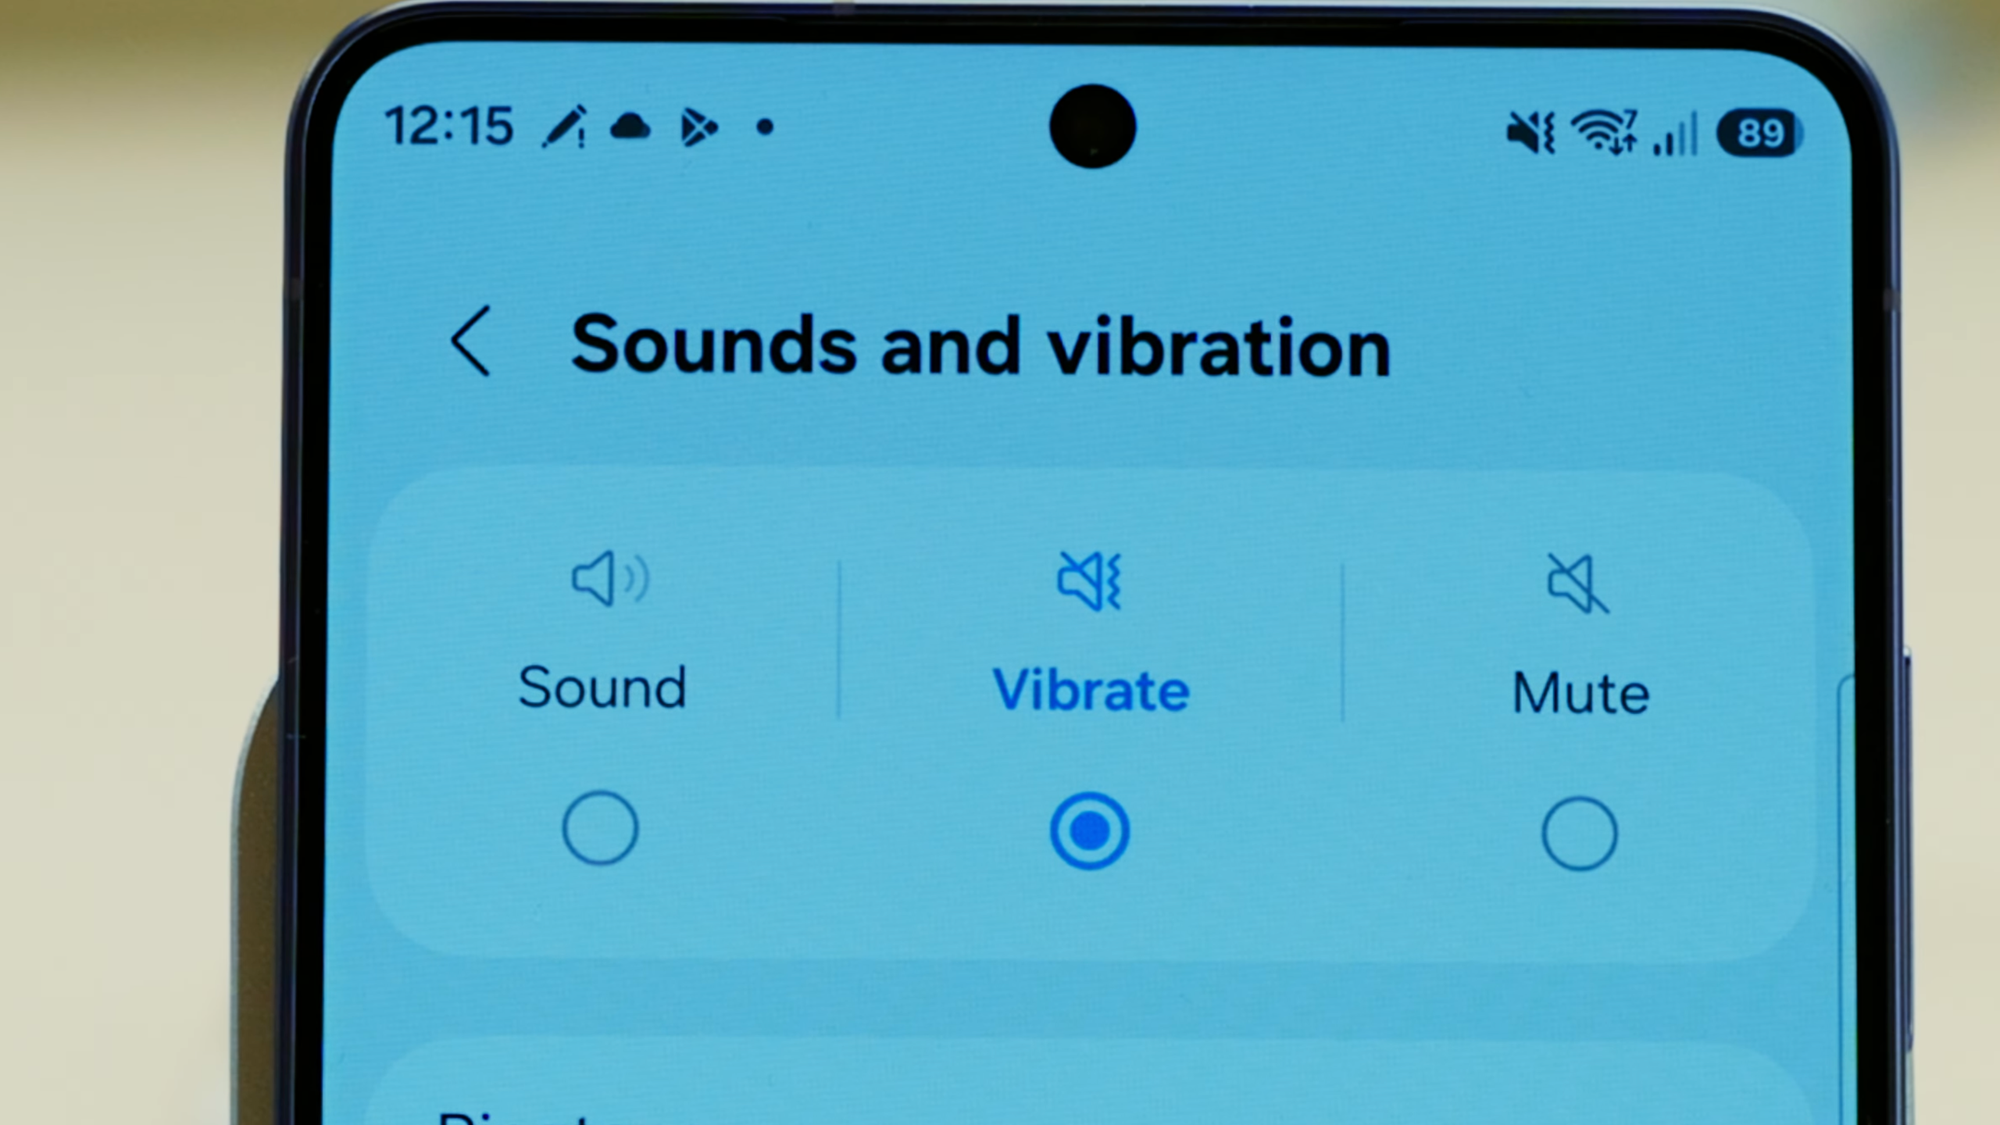
23. Disable the Charging Sound and Keyboard Clicks
Go to Settings > Sounds and Vibration > System Sound and disable the charging sound. Getting into bed at midnight and having your phone announce it's charging is not a feature. While you're in here, also disable the Samsung Keyboard sound. The click when typing is one of those things that seems fine until you're in a quiet room or on a call.
24. Enable Dolby Atmos
Go to Settings > Sounds and Vibration > Sound Quality and Effects and enable Dolby Atmos. The difference is noticeable in music and video content. Also check Adapt Sound in here, which calibrates audio output based on your hearing profile.
25. Set Your Notification Pop-Up Style and Enable Notification Categories Per App
In Settings > Notifications, go to Notification Pop-Up Style and choose between Brief and Detailed. Then go to Advanced Settings and enable Manage Notification Categories for Each App. This is one of the most useful settings on the phone, and I have no idea why it's not on by default.
With this enabled, you can go into any app's notification settings and see individual notification categories instead of just an on/off toggle for the whole app. For Gmail, you can enable notifications for important emails and disable them for promotional ones. For Slack, you can enable direct messages and disable channel notifications. Also enable Filter Notifications > Background Activities to hide the semi-permanent "app is running in the background" notifications, and enable the Snooze Button on notifications.
Display, Lock Screen, and Security
This is where some of the more interesting features live, including one of the S26 Ultra’s biggest new additions: Privacy Display.
You’ll also set up things like Always On Display, lock screen behaviour, sleep routines, and security features that protect your data if your phone ever goes missing.
None of these takes long to configure, but they make a big difference once everything is dialled in.
26. Schedule Dark Mode and Set Up Privacy Display (S26 Ultra)
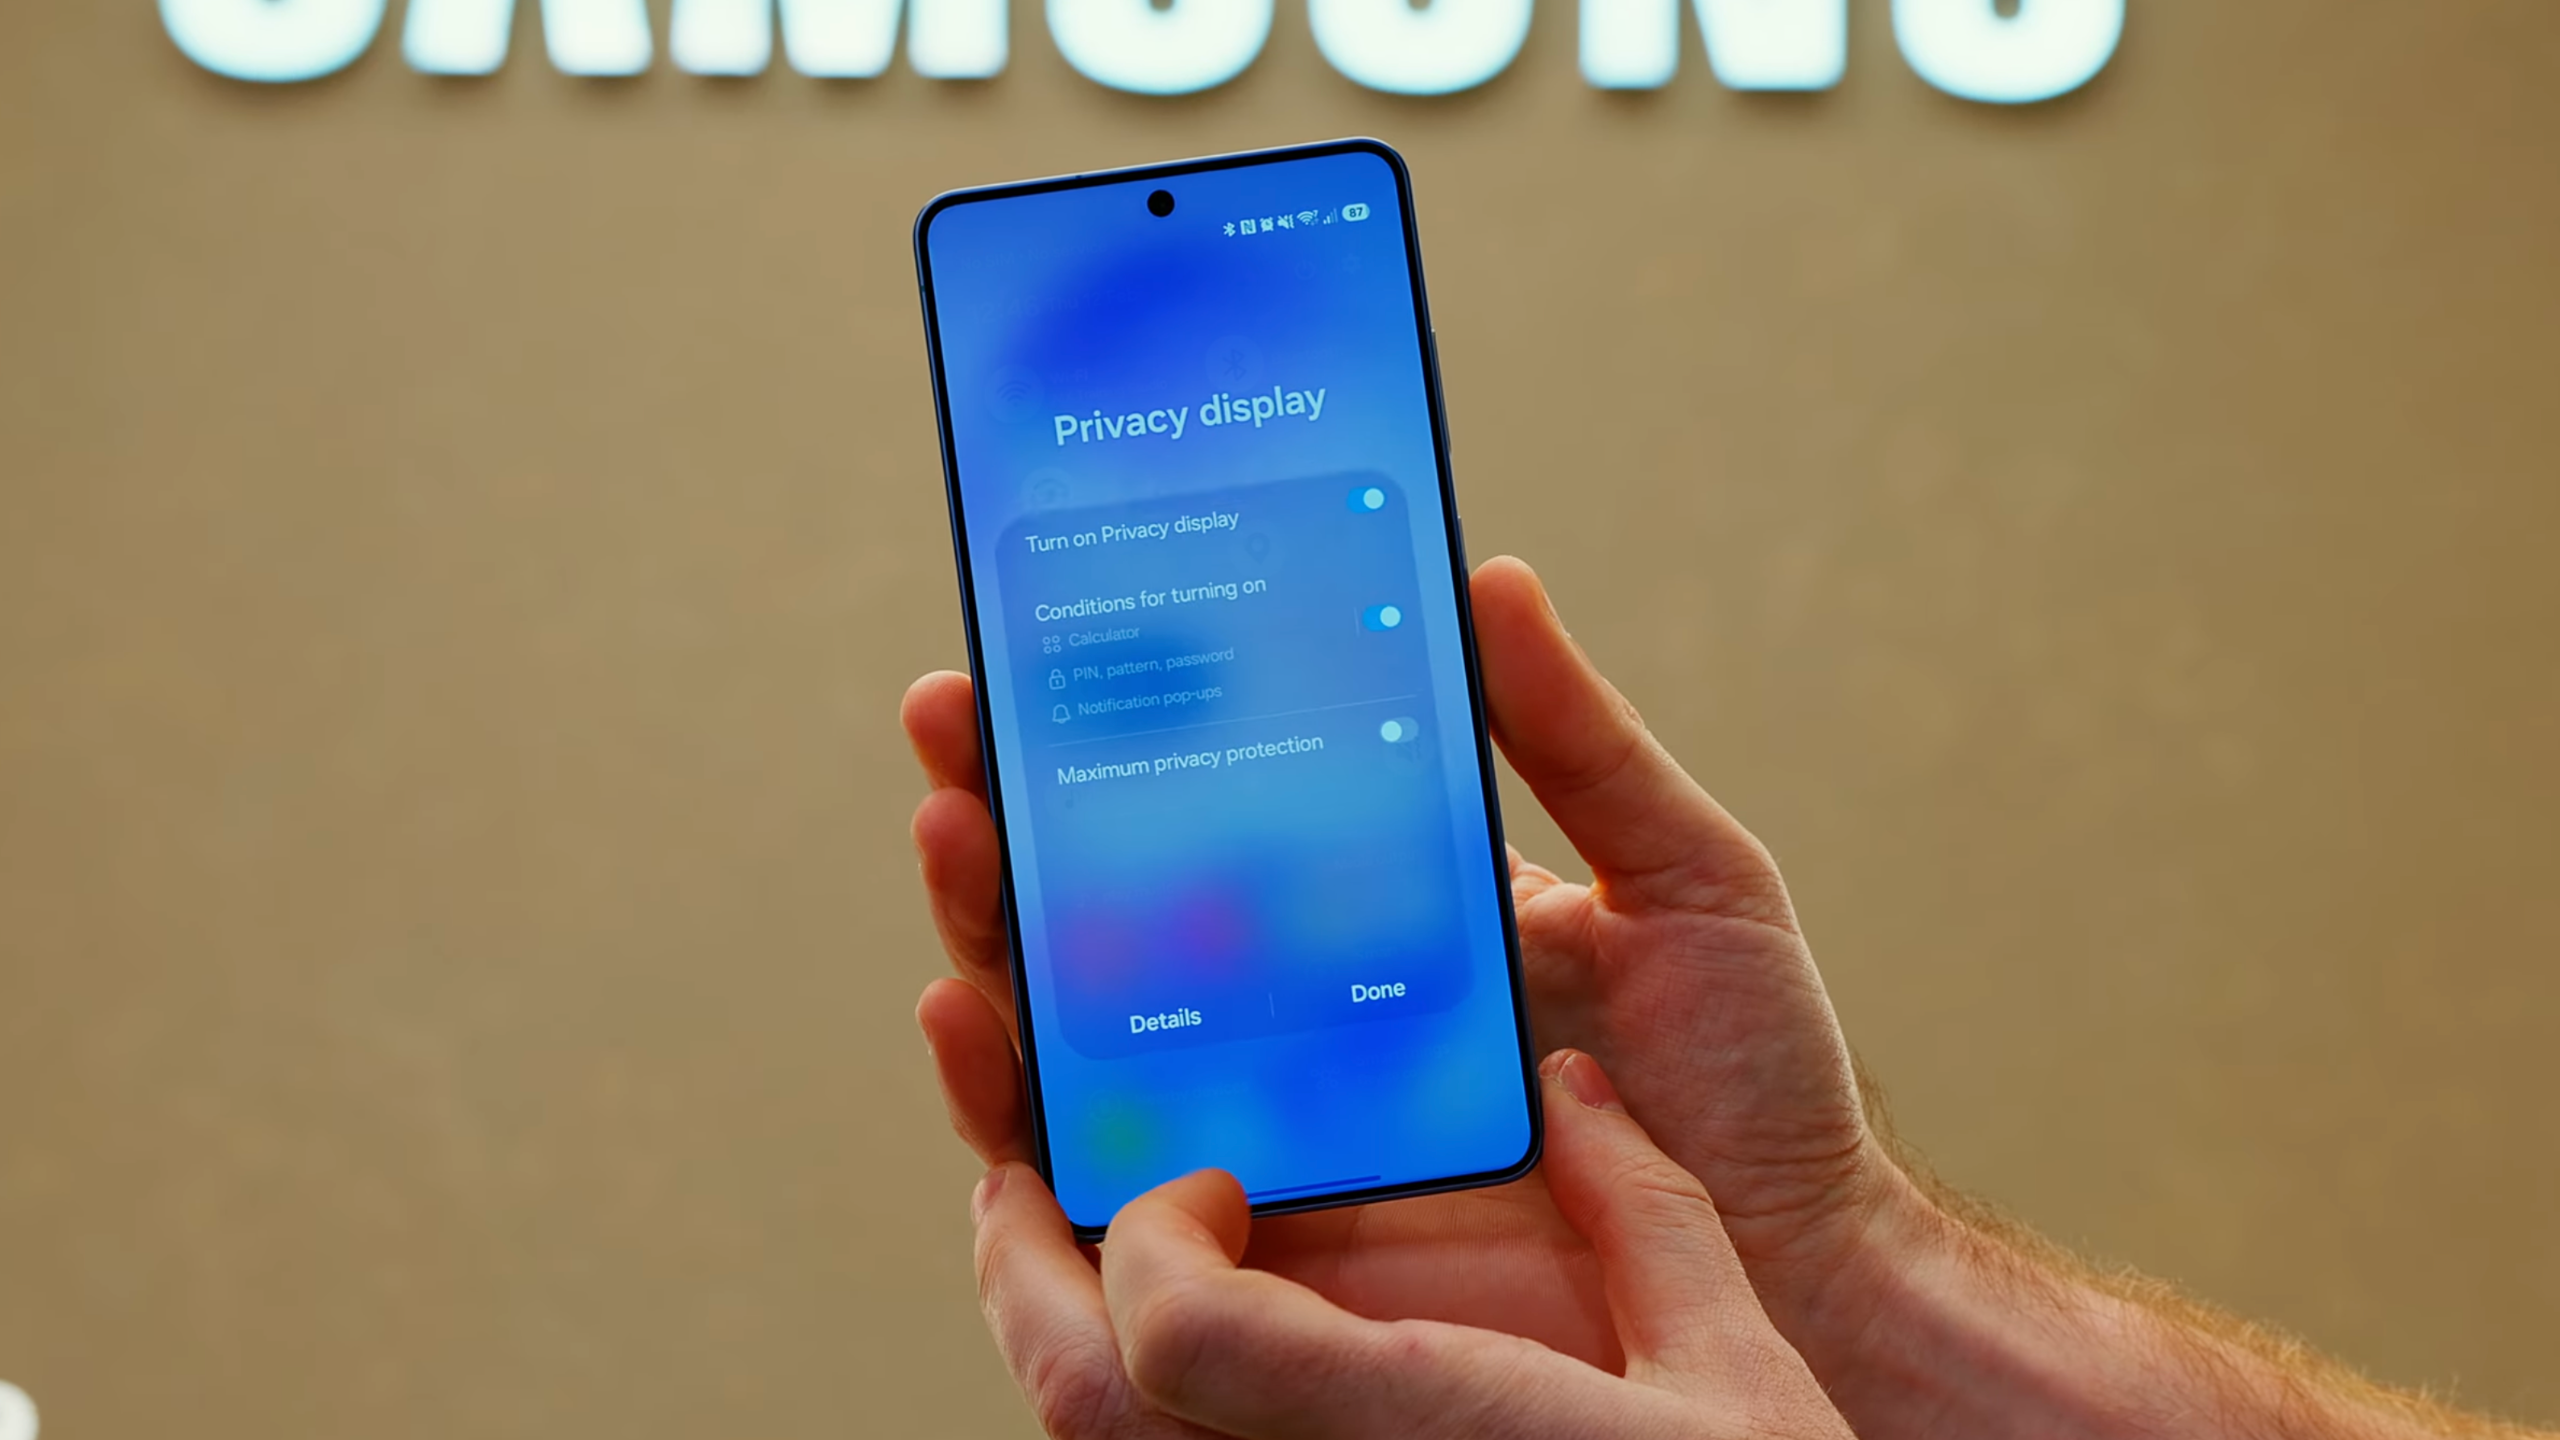
Go to Settings > Display > Dark Mode Settings and set it to Scheduled - Sunset to Sunrise. Then, if you have an S26 Ultra, go to Display > Privacy Display and take a few minutes to set this up properly.
Privacy Display prevents people from seeing your screen when looking at it from any angle other than straight on. You can enable it for the full display all the time, or set it to activate only for specific apps. I have it enabled for banking apps, messaging apps, my photos app, and my password manager. It also activates automatically whenever a PIN, pattern, or password prompt appears. This is a world-first feature for smartphones, and it's not enabled by default.
27. Enable Always On Display and Extend Unlock
Go to Settings > Lock Screen > Always On Display and turn it on. Customize what you want to see, and check out Good Lock for further customization options. Also find Extend Unlock in Lock Screen settings, which keeps your phone unlocked in trusted situations like at home, connected to a known device, or while you're carrying it.
Enable Roaming Clock as well. When you're in a different time zone, this shows both the local time and your home time zone on your lock screen. Useful for knowing when to call family without doing time zone math in your head.
28. Set Up Sleep Mode and Back Up Your Data
Go to Settings > Modes and Routines, tap Sleep, and use the Easy Setup. Set your sleep and wake times, enable Do Not Disturb, and configure any smart home interactions you want. If you travel frequently and change time zones, be careful here. I've had sleep mode trigger smart home actions at the wrong time because the routine ran on local time while I was abroad.
Then go to Settings > Accounts and Backup and make sure your backup is configured. Also go to Settings > Security and Privacy > More Security Settings > Enhanced Data Protection and enable both options to encrypt your backups and synced data.
29. Turn On Find My Mobile and Theft Protection
Go to Settings > Security and Privacy > Lost Device Protection > Find My Mobile and switch all three options on. Then go back one level to Theft Protection and run through those options too. If you have a Galaxy Watch or Galaxy Ring, open the Wearable app and register with Samsung Find.
Performance and Final Settings
At this point, the phone is mostly configured, but there are a few final tweaks worth making.
These are small things (performance profiles, S Pen behaviour, link handling), but together, they help polish the overall experience and remove a few of Samsung’s more annoying defaults.
Once these are done, your Galaxy S26 is basically ready to go.
30. Configure S Pen, Performance Profile, and App Defaults
If you have an S26 Ultra, go to Settings > Advanced Features > S Pen and change the action when the S Pen is removed to Create a Note. Then go to Device Care > Performance Profile and switch to Light. On the S25 Ultra, this made no noticeable difference to performance but did improve battery life noticeably.
Finally, go to Settings > Apps > Default Apps > Opening Links and disable Open Links in Apps. This stops apps from opening links in their own in-app browser and sends them to your actual browser instead. And confirm Settings > General Management > Date and Time is set to automatic based on location.
Watch the Video
If you’d rather see all of these settings step-by-step, I’ve also put together a full walkthrough on YouTube.
In the video, I go through all 30 Galaxy S26 tips directly on the phone so you can see exactly where each setting lives and what it actually does. A few of them are buried pretty deep in Samsung’s menus, so watching the process can make them much easier to find.
If you’ve just unboxed your Galaxy S26 or Galaxy S26 Ultra, it’s worth following along with the video while you configure everything.
Your Galaxy S26 Is Now Actually Set Up
And that’s it!
Thirty small tweaks, but together they make a surprisingly big difference. Your phone should now feel faster, quieter, more secure, and generally much nicer to use day to day than it did straight out of the box.
Samsung packs an incredible amount of functionality into these phones, but the downside is that a lot of the best features are buried deep in the settings. Spending ten or fifteen minutes going through them properly is easily worth it.
If you’ve just picked up a Galaxy S26, I’d be curious to know: what’s the first setting you changed?
More From Pete Matheson
If you enjoyed this guide, there’s a lot more where that came from. Sign up to my newsletter where I send out a short email with my latest videos, extra tips that don’t make it into YouTube, and the occasional behind-the-scenes look at what I’m testing next.
You’ll also get access to the Aftershow, where I share extra thoughts, gear I’m experimenting with, and answers to questions from the community.
If that sounds useful, you can subscribe to the newsletter below.
