

When you buy an iPhone, you buy into Apple’s world… which is a very polished, very connected, and yes, very expensive place to be.
I like to call the iPhone Apple’s gateway drug. Because one minute you’re just setting up your Face ID, and the next thing you know, you’ve got an Apple Watch, AirPods, an iPad, and you’re wondering how you ever managed without them.
That’s the beauty (and danger) of the Apple ecosystem. Apple makes it all work together so smoothly… but you have to make sure everything is set up correctly. Otherwise, you’ll be stuck fighting slow storage, bloated notifications, and apps running in the background draining your battery.
Nobody wants that, so let’s go through exactly what you need to do to set your new iPhone up the smart way.
Step 1: Back Up and Transfer Your Data
If you’re coming from another iPhone, life’s easy with Quick Start. Just hold your old and new iPhones near each other, follow the prompts, and watch everything (apps, logins, wallpapers, even Wi-Fi passwords) move across. It’s the fastest, least painful way to get going.
If you’re switching from Android, things are a bit messier. Apple’s Move to iOS app will bring across your contacts, photos, and messages. It works, but it’s not perfect, and you’ll probably need to re-download some apps and reset logins.
Pro Tip: Make sure your Google Photos or Drive is synced before switching, so nothing important gets lost.
Step 2: Nail the iCloud & Apple ID Setup
Your Apple AI is your one login that ties everything together: iCloud, the App Store, Apple Music, FaceTime, iMessage, AirDrop, and now even Apple Intelligence features. Mess this up, and you’re in for years of headaches.
Here’s what to do straight away:
- Sign in with your Apple ID (or create one if this is your first iPhone) - Use a strong password and enable two-factor authentication.
- Turn on iCloud Photos and iCloud Drive - This keeps all your photos, notes, and documents synced across all your Apple devices. If you’re coming from Android, it feels like magic when your photos just appear on your iPad or Mac.
- Enable “Find My iPhone” - This is non-negotiable. If your phone is lost or stolen, this is your lifeline that allows you to lock, locate, or wipe your device remotely.
- Decide on iCloud storage - The free 5GB plan is useless in 2025. If you’re using your phone for photos and backups, upgrade to at least 50GB (£0.99/$0.99 per month) or 200GB if you’re sharing with family.
Once iCloud is on, you’ll realise just how integrated Apple’s world is. AirDrop, Messages on your Mac, shared calendars, it’s all one big happy family. Which is why people (myself included) often end up spending thousands across the lineup.
Step 3: Get Your Security and Passwords Sorted
Now that your iCloud account is live, it’s time to lock things down. Apple gives you good built-in security, but you can (and should) take it further if you want your iPhone to stay secure and convenient.
- Set up Face ID (or Touch ID on SE models) - It’s fast, reliable, and way more secure than a PIN. You can also add a second “look” so Face ID works when you’re wearing glasses.
- Use a real password manager - Apple’s iCloud Keychain has improved, but something like 1Password or Bitwarden still wins because they work across everything, including Android and Windows. That way, you’re not locked into Apple forever if you ever want to switch.
- Turn on Two-Factor Authentication - This is built into Apple ID by default now, but make sure it’s active. For apps, use an authenticator app instead of SMS (it’s much safer).
- Review app permissions - Head to Settings > Privacy & Security, and make sure you know which apps are using your camera, mic, or location. You’d be surprised at how many don’t need it.
Security is one of those things you don’t notice until something goes wrong. Spend 10 minutes setting it up now, and you’ll thank yourself later.
Step 4: Optimise Settings for Speed & Battery
Out of the box, iPhones are tuned for convenience, not efficiency. A few quick tweaks will keep your phone snappy and extend your battery life.
- Background App Refresh - Head to Settings > General > Background App Refresh and set most apps to Off. Keep it on only for things that need live updates (like messaging, maps, fitness).
- Location Services - Go to Settings > Privacy > Location Services. Switch most apps to While Using the App instead of Always. Your battery will appreciate it.
- Push vs Fetch Email - In Settings > Mail > Accounts > Fetch New Data, turn off Push for accounts you don’t need in real-time. Set them to fetch hourly or manually.
- Reduce Notifications - Use Notification Summary to group low-priority alerts into one daily digest instead of constant buzzes.
- Focus Modes - Create a Work focus (email, Slack, calendar only), a Fitness focus (music, workout apps), and a Family focus (messages from close contacts). This saves your battery and your sanity.
You’ll still get a full day of battery life (iPhones are good at that), but these settings stop random apps from chewing through resources in the background.
Step 5: Master the Ecosystem Integration
Here’s where owning an iPhone stops being about the phone and starts being about the Apple ecosystem.
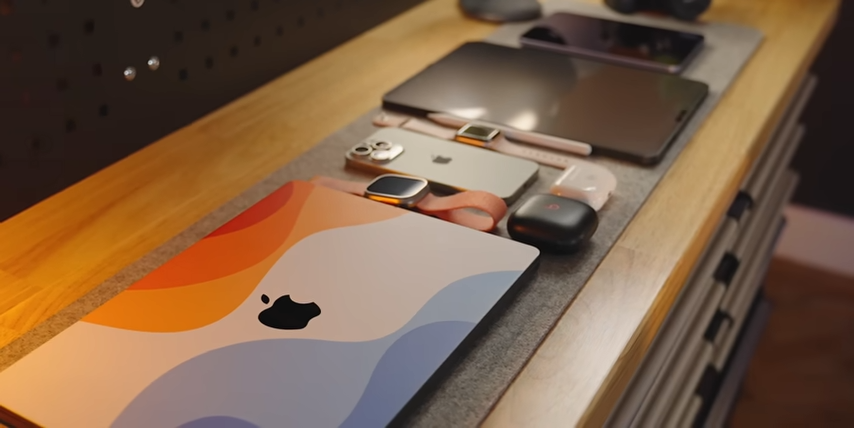
If you’ve got other Apple gear, make sure to set this up early:
- AirPods Pairing - Open the case near your iPhone, tap connect, and you’re done. From then on, they’ll auto-switch between your iPhone, iPad, and Mac. No fiddling with Bluetooth menus.
- Apple Watch - During setup, pair your Apple Watch to your iPhone. In addition to fitness tracking, your watch can also unlock your Mac, answer calls, and even serve as a “kid’s phone” with cellular enabled.
- Apple TV Remote - Download the Apple TV Remote widget in the Control Center. It makes typing passwords and searching shows infinitely easier than the on-screen keyboard.
- AirDrop & Handoff - Try sending a photo to your Mac or copying text on your iPhone and pasting it on your iPad. These small tricks are the glue that keeps you stuck inside Apple’s world.
- Find My - Add all your Apple devices (and AirTags). This turns your iPhone into a personal tracker hub for your gear and your family.
This is where Apple still beats Android. Yes, other brands have ecosystems, but only Apple controls the whole stack. That means less setup pain and fewer compatibility issues.
Step 6: Set Up Your Apps for Everyday Use
Once the basics are done, it’s time to set up the apps you’ll actually use every day.
- Banking and Passwords - Get your banking apps installed early, then make sure Face ID is enabled for quick logins. Pair this with your password manager so you’re never locked out while traveling.
- Dynamic Island tricks - Apps like Uber, timers, or sports scores live up there without you needing to constantly re-open them. Yes, the black bar is annoying, but when apps use it right, it’s genuinely useful.
- Notes & Reminders - Sync with iCloud so they’re available on your Mac or iPad. Great for shopping lists or quick ideas.
- Streaming & Music - Log into Apple Music or Spotify early and set up downloads for offline listening. This can help save some battery life and data when traveling.
The key is to not overload your iPhone with every shiny app you see. Stick to the essentials to avoid bogging down your iPhone.
Make Your iPhone Yours (So You’re Not Tempted to Upgrade)
Setting up a new iPhone isn’t rocket science, but doing it the right way makes all the difference. This includes:
- Transferring your data properly
- Choosing the right storage and iCloud plan
- Using Focus Modes the right way
- Locking down your phone’s security
- Trimming down background apps
These little tweaks can keep your phone feeling brand new for years… so you can resist Apple’s shiny new upgrades come September.
