

If you are searching for how to clean headphone pads, you have probably taken a close look at your favorite pair of over-ear headphones and realized they are absolutely disgusting. I know the feeling. You wear them at your desk for eight hours. You take them to the gym. You wear them on long flights. You’re basically wearing them as often as your shirt or pants, except headphones can’t go in the washing machine.
Most days, I walk away from my desk setup without giving my audio gear a second thought. But recently, I took my Sony WH-1000XM5 headphones off and actually looked at the ear cushions. They were covered in a weird sheen of sweat, skin oils, and dust. It was not a great moment.
The sheer amount of grime built up in the creases was genuinely embarrassing. How much bacteria was pressing against my face while I gamed?
Headphones are a serious investment. You spend hundreds of dollars on good audio equipment, but the maintenance often gets completely ignored. The ear pads are the only part of the device that makes constant, direct contact with your skin. They soak up everything.
So I spent a weekend testing different cleaning methods on various materials to see what actually works without ruining the foam or the fabric. Some methods I found online were terrible and actively damaged the faux leather. Others worked brilliantly.
Pull out your grimiest headphones, because that is exactly what we are going to fix today.
What you can’t see on dirty ear cushions
Let's talk about what is actually happening on your headset. Your ear pads create a dark, warm environment when pressed against you. That is the perfect breeding ground for bacteria.
A 2025 study looked at how using different types of headphones affected fungi and bacteria growth in the ear canal. An excess of fungi and bacteria can cause irritation and infection. The results? Using over-the-ear, in-ear, or on-ear headphones was associated with a higher risk of ear infections.
If you share devices with your family, the problem multiplies. I see this all the time with gaming headsets shared between siblings. Kids are notoriously bad at keeping their tech clean.
If you are currently working on reducing your kids' screen time, make sure to inspect their headsets during their break. You might not be ready to see what you find growing on them!
The buildup of oils looks and smells bad, yes. But it also degrades the materials. Protein leather, the synthetic material used on most premium headphones today, will start to crack and peel when exposed to excessive sweat and acidic skin oils over time.
Once the material cracks, the acoustic seal is broken. That means your active noise cancellation stops working effectively. The bass response drops. Your expensive headphones start sounding like cheap knockoffs. And they still smell like death.
Supplies you need to clean your audio gear
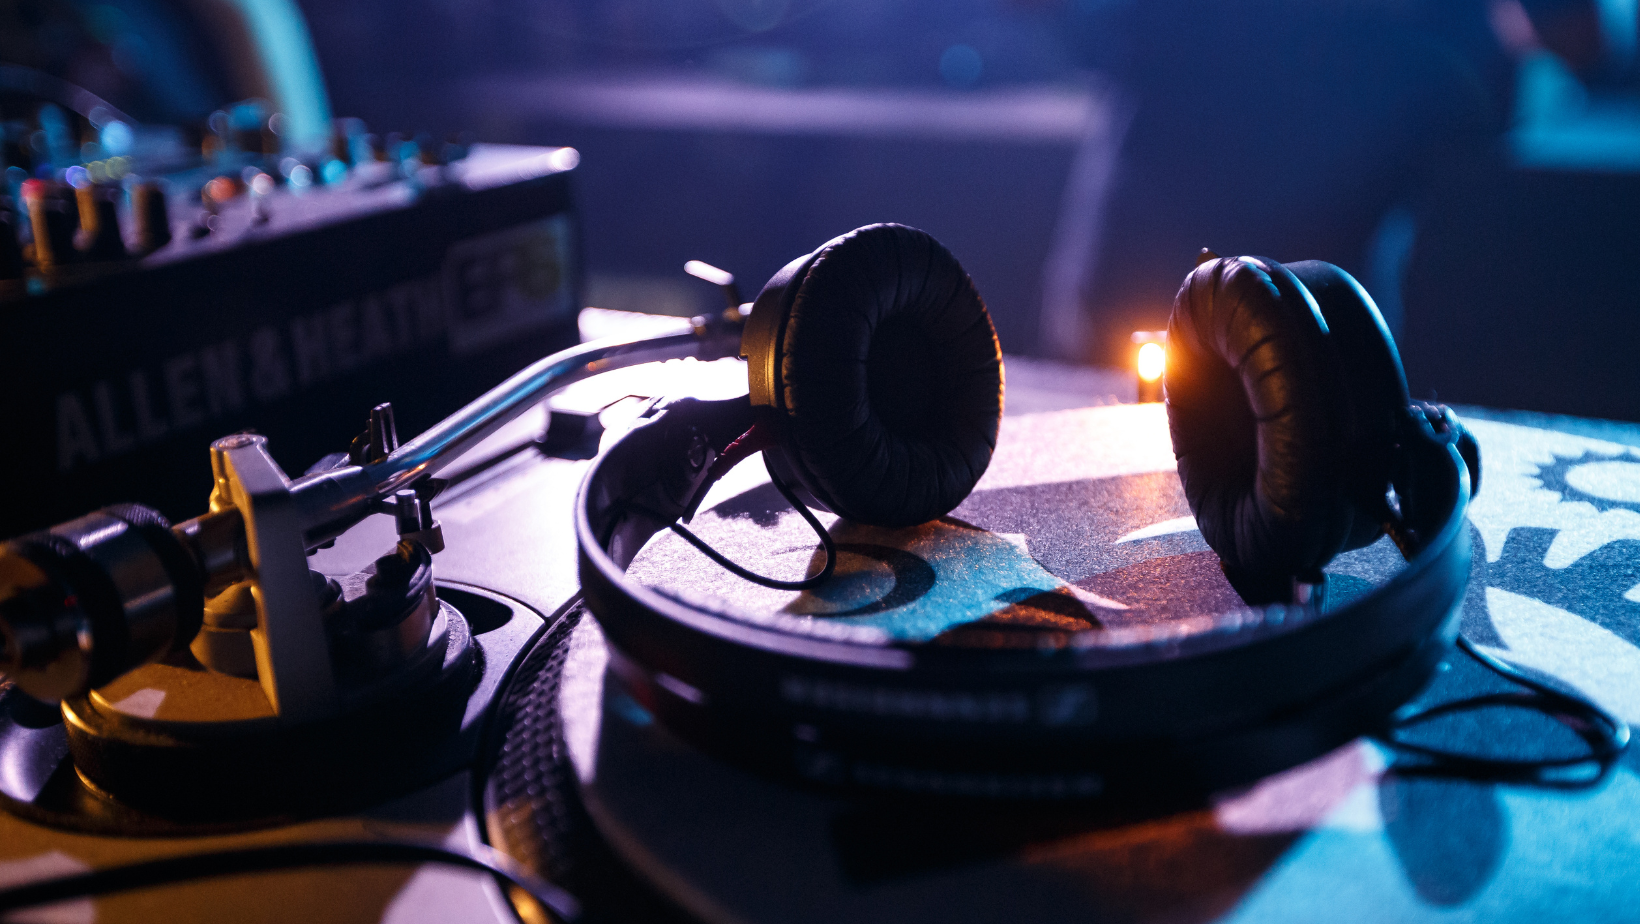
Before you start scrubbing, you need the right tools. Using harsh household chemicals will instantly destroy your ear pads. I ruined a perfectly good pair of Sennheiser pads a few years ago by using strong bleach wipes.
Here is the exact toolkit you need to get the job done safely:
- Mild liquid dish soap diluted in a bowl of warm water
- Two clean microfiber cloths
- A soft-bristled toothbrush for stubborn grime
- A small amount of rubbing alcohol for plastic parts only
- Dry paper towels for wiping away excess moisture
Keep these items handy whenever you do your routine tech maintenance.
How to clean headphone pads based on the material
Different materials require completely different approaches. What works for velour will absolutely destroy protein leather. When figuring out how to clean headphone pads, you need to identify what your ear cushions are made of before you apply any liquids.
Washing protein leather and genuine leather pads
Most high-end consumer headphones use protein leather. This includes popular models like the Sony XM6. It feels soft, but it is essentially a polyurethane coating over a fabric base.
To clean leather ear pads safely, you want to use the absolute minimum amount of water possible. Dip your microfiber cloth into the warm, soapy water. Wring it out until it is barely damp. It should not be dripping at all.
Gently wipe the surface of the ear pads in small circular motions. Do not press too hard. You are only trying to lift the surface oils away. If your pads are removable, take them off the ear cups first. This prevents any accidental water damage to the internal electronics.
Once you have wiped away the grime, take your second, dry microfiber cloth and wipe the pads down completely. Leave them in a well-ventilated room to air dry for a few hours. Never use a hair dryer or leave them in direct sunlight, as the heat will warp the synthetic leather.
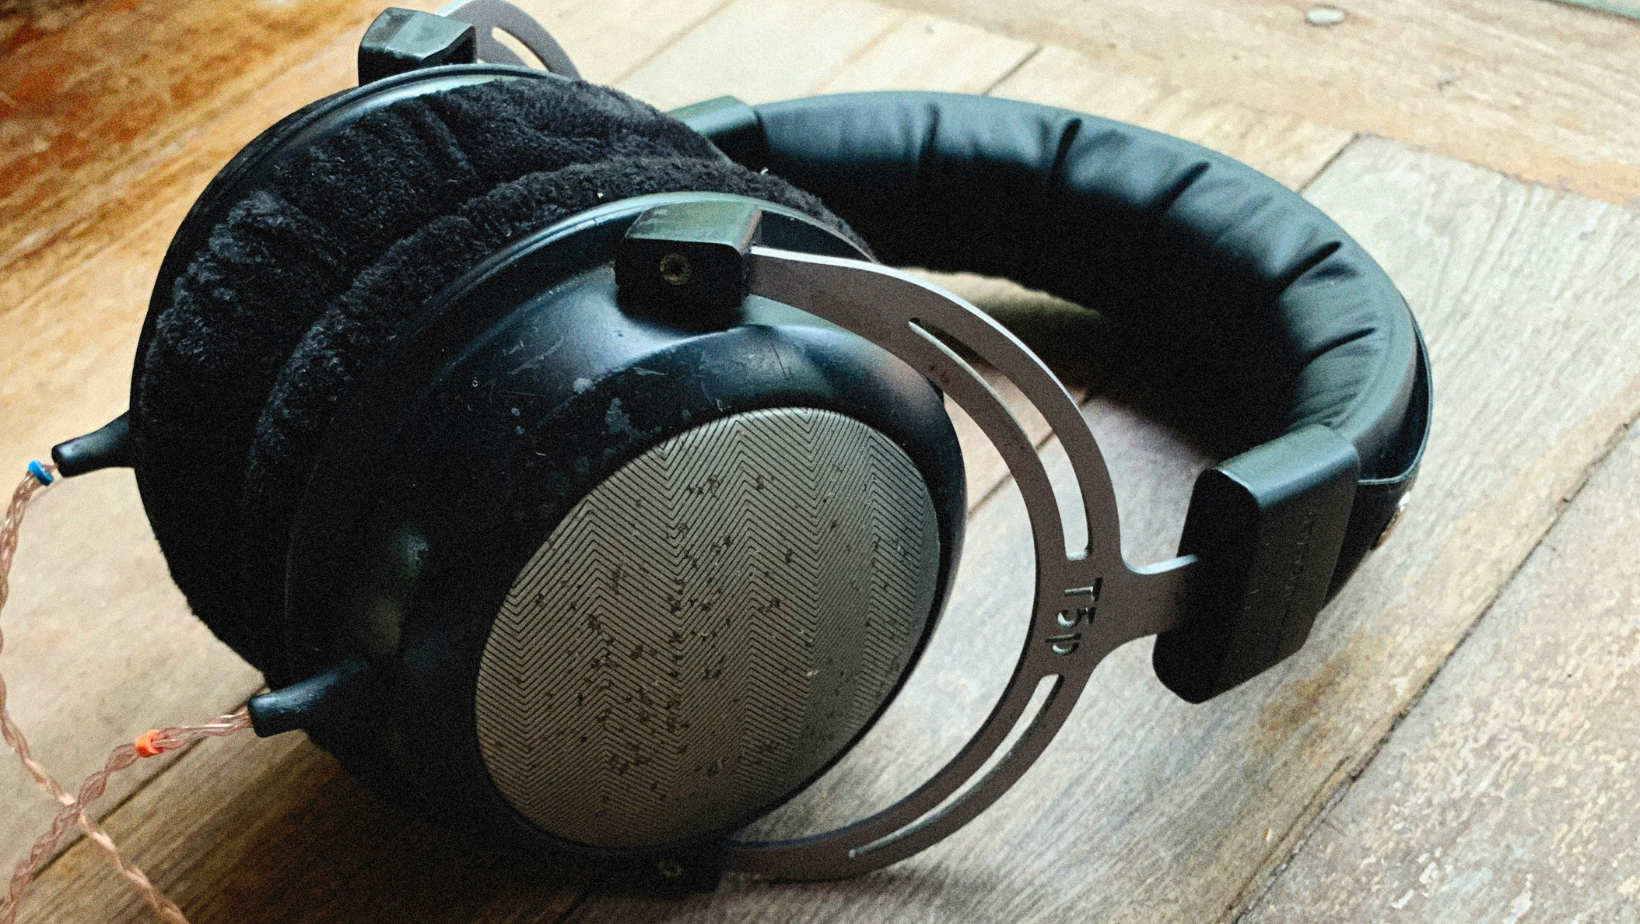
Scrubbing velour and fabric ear cushions
Velour pads are incredibly comfortable. They breathe better than leather, which makes them popular for open-back audiophile headphones and gaming headsets. The downside is that they act like sponges. They absorb sweat and trap dust deep within the fibers.
If your velour pads are removable, take them off. You can actually submerge these in your bowl of warm, soapy water. Massage them gently with your thumbs to push the soapy water through the foam. You will probably be disgusted by the color of the water that comes out.
Rinse them thoroughly under cold running water until there are no soap bubbles left. Squeeze out the excess water gently. Do not wring them out like a wet towel, or you will deform the inner memory foam.
If the pads are not removable, you have to be a lot more careful. Dip your soft-bristled toothbrush into the soapy water. Tap off the excess liquid. Gently brush the velour surface to lift the dirt out of the fibers. Follow up by dabbing the area with a dry paper towel to absorb the moisture.
Handling exposed memory foam
Some headphones use exposed memory foam without a protective outer layer. This material is highly porous and delicate.
You cannot soak memory foam. If it gets completely saturated, it takes days to dry and can develop mold inside. Instead, use a barely damp cloth to dab at the surface stains.
If the foam smells bad, you can lightly sprinkle baking soda over the dry pads. Let it sit for an hour to absorb the odors, then gently brush it off with a dry toothbrush. It is a simple trick, but it works surprisingly well.
Comparing headphone pad materials for maintenance
If you are in the market for new headphones or replacement pads, it helps to know what you are signing up for. Each material has distinct trade-offs between comfort and maintenance.
I personally prefer protein leather for daily use. It isolates noise well and takes two minutes to wipe down. But for long gaming sessions, velour is a lot more comfortable, even if it requires a deeper clean.
When to throw out your headphone pads
Sometimes, no amount of scrubbing will save your ear cushions. They are consumable items. They are meant to be replaced eventually.
If your protein leather is flaking off and leaving black specks on your ears and neck, the pads are dead. If the memory foam stays flat when you press it and no longer rebounds, the pads are dead. If they smell like a locker room even after a deep clean, it is time to throw them away.
The reassuring part is that replacing them is usually cheap and easy. You do not need to buy a whole new set of headphones.
Brands like Wicked Cushions and Dekoni Audio make fantastic replacement pads for almost every popular headphone model on the market. I bought a pair of Wicked Cushions for an old set of gaming headphones, and they felt better than the original stock pads. They often use thicker memory foam and cooling gel layers. Wicked Cushions leans more toward bold designs and cooling gel technology, which is fantastic if your ears get hot during long work sessions.
Dekoni Audio makes premium pads using sheepskin and elite velour. They are more expensive, sometimes hitting the eighty-dollar mark, but they genuinely change the sound profile of your headphones. They often increase the bass response and widen the soundstage.
You can usually find these replacements on Amazon for around $20 to $30. It is a small price to pay to breathe new life into a $300 pair of headphones. Search for your specific headphone model followed by "replacement pads" and you will find plenty of options.
If you are buying tech for your family, keeping spare pads around is a sensible move. When you are protecting your kids online, you also want to protect their physical hearing by making sure their headsets fit properly and block out background noise safely. A good acoustic seal means they do not have to crank the volume up to dangerous levels.
Maintaining the rest of your audio equipment
While you have the cleaning supplies out, you should probably look at the rest of the headset. The headband absorbs as much hair product and sweat as the ear pads.
How to clean the headband on your headset
The headband is the structural foundation of your headphones. It takes the brunt of the physical stress when you stretch the ear cups apart. If the padding on the headband degrades, the hard plastic or metal underneath will dig directly into your skull. That causes a very specific type of headache after an hour of use.
Keeping the headband clean prevents the padding from compressing prematurely. Use a damp microfiber cloth to wipe down the headband. If it is made of fabric, use the toothbrush method.
How to clean your headset’s ear cups and buttons
The plastic ear cups and physical buttons can be wiped down with a tiny amount of rubbing alcohol on a paper towel. This disinfects the surfaces you touch constantly. Keep the alcohol far away from the leather pads, as it will dry them out and cause immediate cracking.
If you use in-ear monitors or earbuds, the cleaning process is different. You have to deal with earwax buildup in the silicone tips and the speaker grills. I usually use a wooden toothpick or a specialized cleaning pen to gently scrape the wax out of the grills. You can wash silicone ear tips in warm, soapy water like velour pads.
Keeping your audio gear fresh for the long haul
Taking care of your tech does not have to be a massive chore. It requires a little bit of attention and the right approach.
I used to ignore my audio gear until it fell apart. That opinion flipped completely when I realized how much money I was wasting on replacements. A simple wipe-down with a damp cloth takes seconds but adds years to your equipment's lifespan.
Check your headphones today. If they look a bit grim, grab some dish soap and a cloth. Your ears will thank you, and your music will sound better with a proper, clean seal.
Now that you know exactly how to clean headphone pads, you have no excuse for walking around with flaking, smelly headphones ever again.
Keeping your gear clean is a good habit to build. It requires a little bit of attention once a month, but it extends the life of your expensive tech by years. You can find more of my thoughts on maintaining your gadgets over on the blog.
FAQs
Can I put my headphone pads in the washing machine?
No. You should never put any headphone pads in the washing machine. The aggressive spinning and harsh laundry detergents will destroy the memory foam inside. The glue holding the pads together will dissolve, and they will fall apart completely. Always wash them by hand using gentle methods.
How often should I clean my headphone cushions?
If you use your headphones daily at a desk, a quick wipe down once a week is sensible. If you wear them to the gym and sweat heavily, you should wipe them with a damp cloth after every single workout. A deeper clean with soapy water should happen every few months.
Does rubbing alcohol damage leather ear pads?
Yes. Rubbing alcohol is a strong solvent. It will strip the moisture and protective coatings right out of genuine leather and protein leather. This causes the material to become brittle and crack very quickly. Only use alcohol on the hard plastic or metal parts of your headphones.
Can dirty headphone pads cause ear infections?
They certainly can contribute to them. Dirty pads harbor bacteria and trap moisture against your skin. If you have any small cuts or abrasions around your ears, that bacteria can cause skin irritation or outer ear infections. Keeping them clean is a basic hygiene practice.
